View/Purchase Folded Depron Float Plan
Recently, I met a few guys who fly free flight models off the water in Southern Vermont. They spoke of 2 minute flights with rubber powered models on floats. One of them, Jim Woolnough, had developed a spring loaded pivoting float that enabled his rubber models to ROW consistently at less than max winds.
I had to know more and give this a try.
The Pivoting Float
The key to Jim’s design is a mount that allows the float to pivot freely such that the rear of the float rides on the surface of the water instead of partially submerged. This reduces water drag and allows the model to rotate onto the step much more quickly and with less thrust. His innovative design uses a light wire torsion spring to return the float to the proper position for landing once the model leaves the water.
Along with the mount, Jim developed an optimal float design for rubber powered sport and endurance type models. This is a stick built balsa float covered in Mylar for waterproofing. The Vermont water flyers cover their rubber sport and scale FF models with Mylar instead of tissue for waterproofing. While not legal in Flying Aces Club competition, Mylar covering solves a major waterproofing issue and allows for extended flying sessions over water.
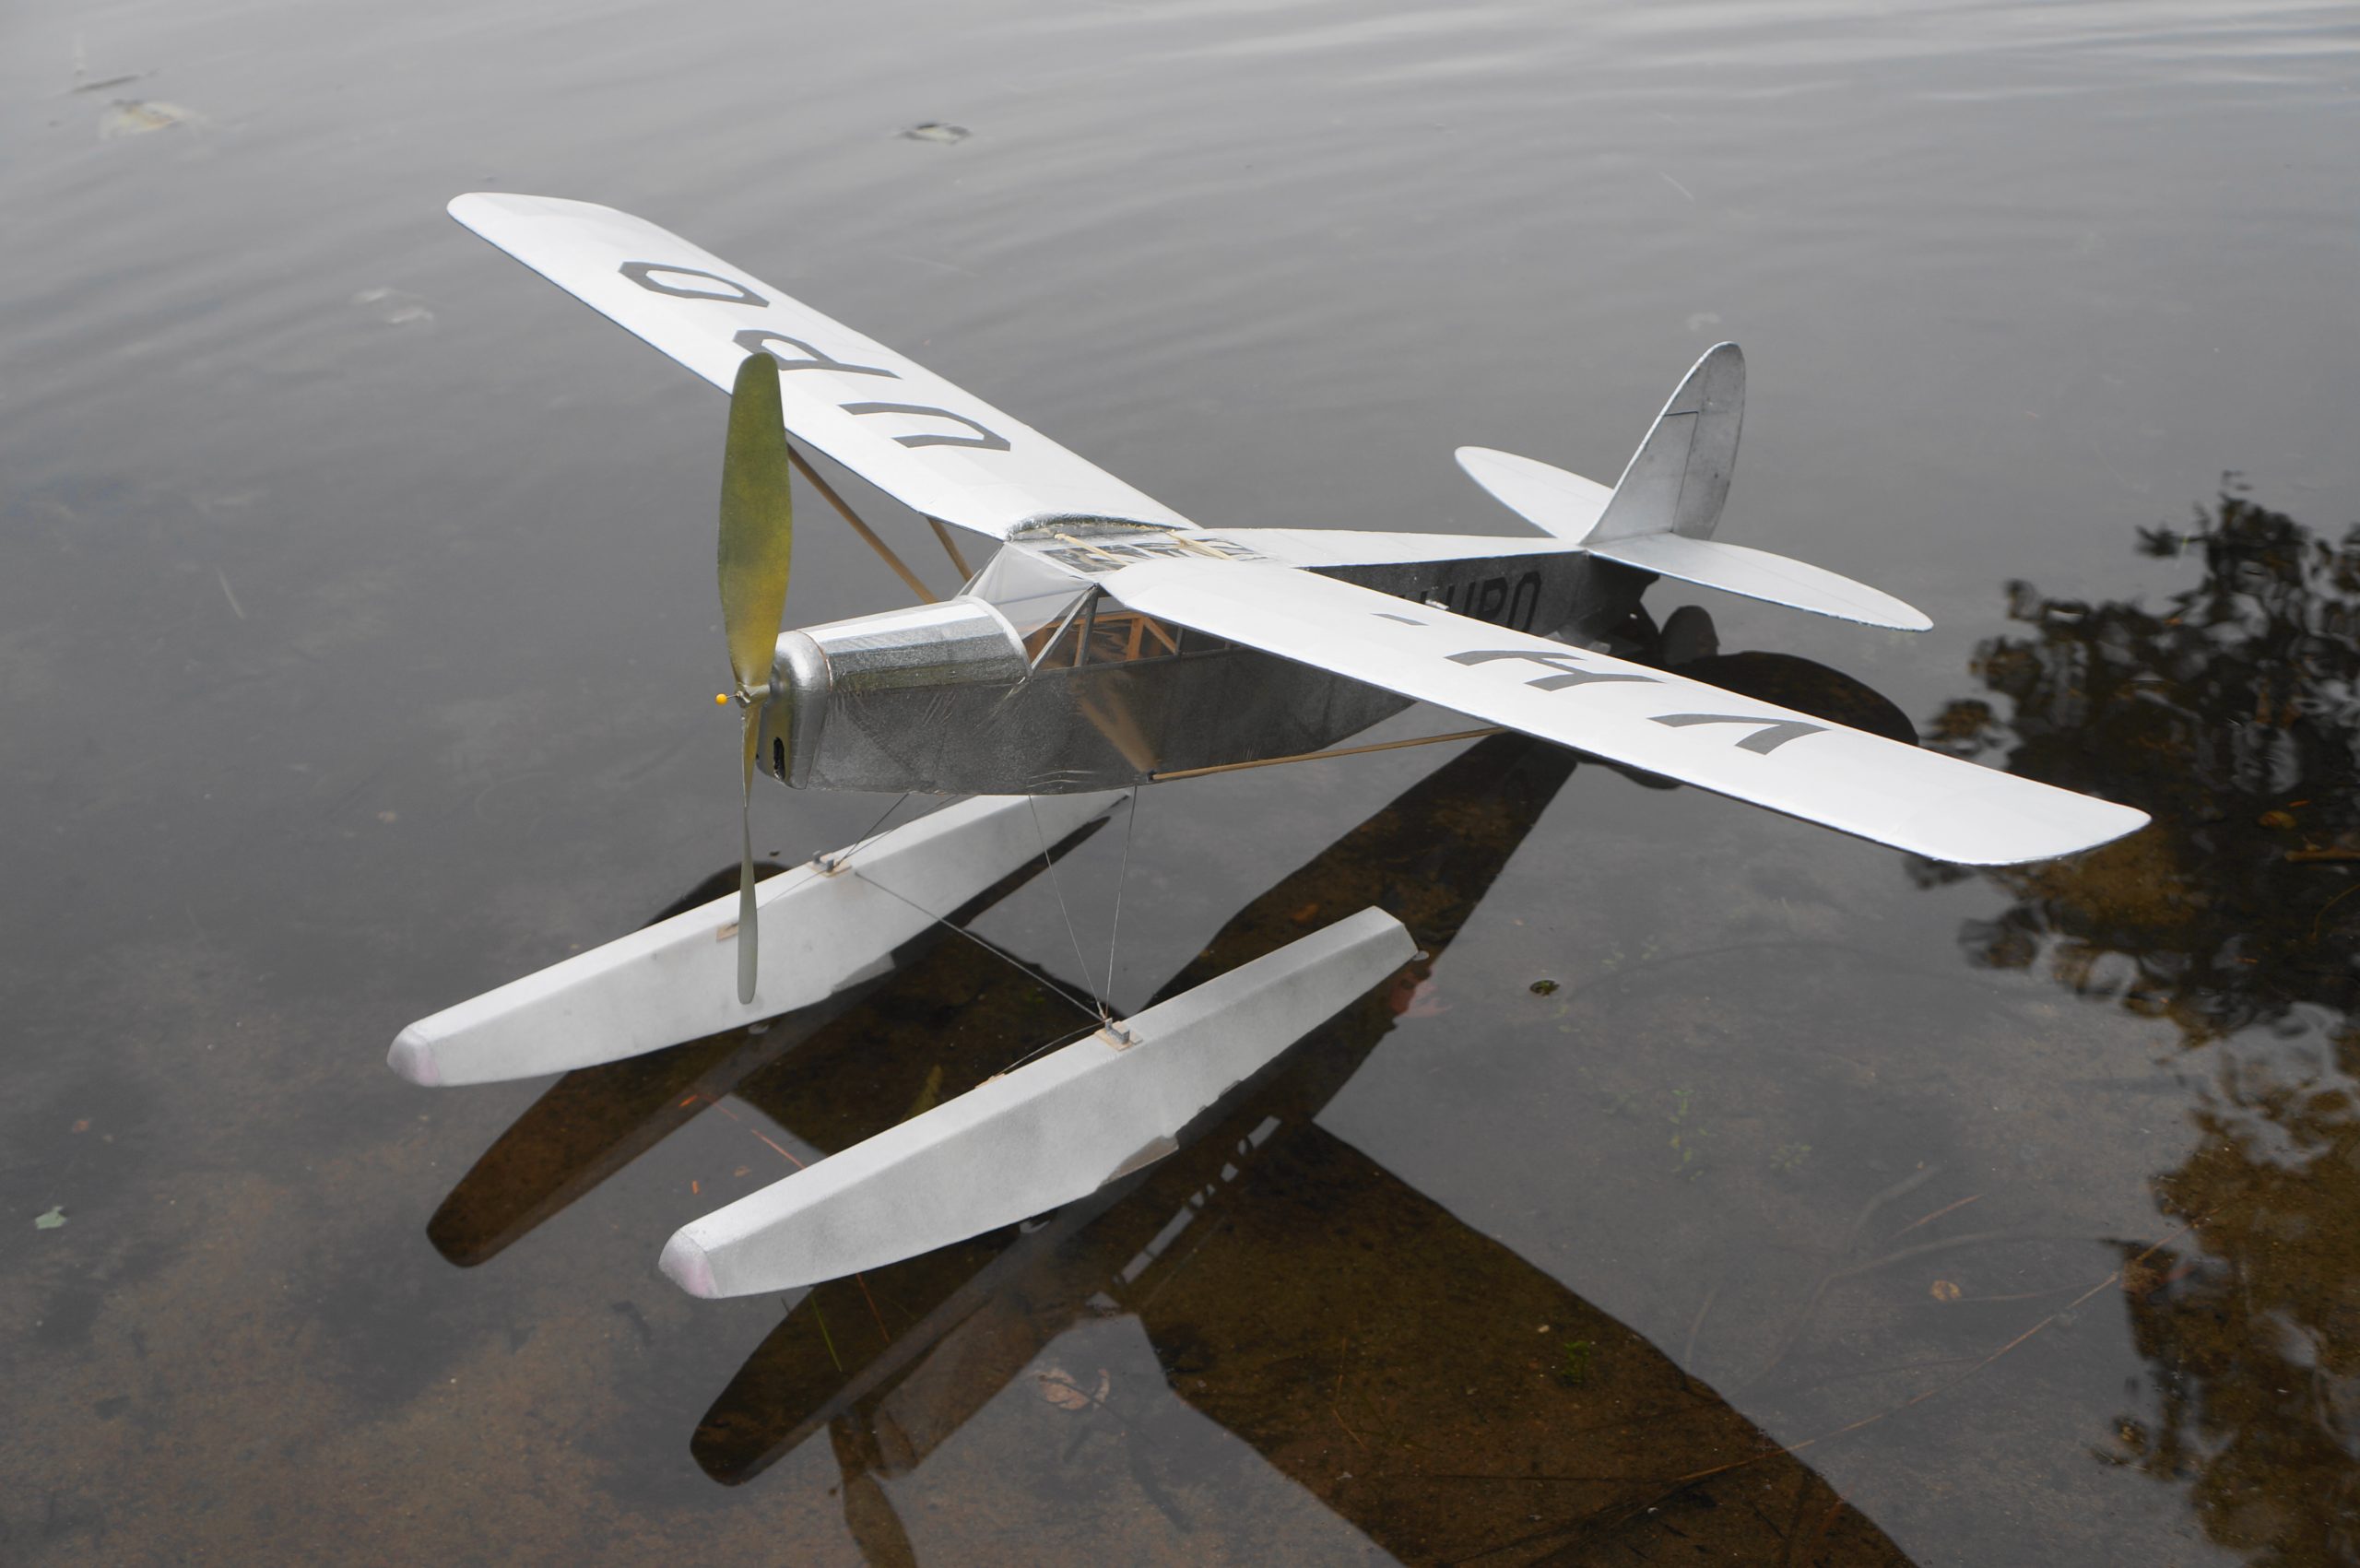
I became interested in applying these principles to a more scale-like rubber powered FF floatplane model. The resulting Folded Depron Foam Float design is presented here.
Design Principles
I set about designing a scale-like pontoon incorporating the features of Jim’s pivoting float with four main principles in mind – lightness, waterproofing, simplicity, and step efficiency.
A few years ago another friend, Jack Kacian, had developed a simple 3 piece folded sheet foam float design for a small electric RC floatplane. I built a set of these and was pleased with how quickly they went together with a scale-like pontoon appearance. This folded foam float was much simpler and faster to build than a stick built pontoon, and with only a few glue seams, lighter and more waterproof as well. Plus, the flat top surface of the pontoon could be easily adapted and reinforced to accept the pivoting float mount.
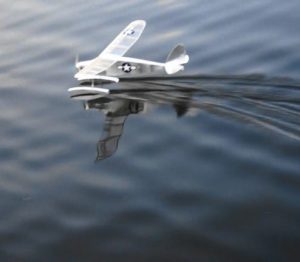
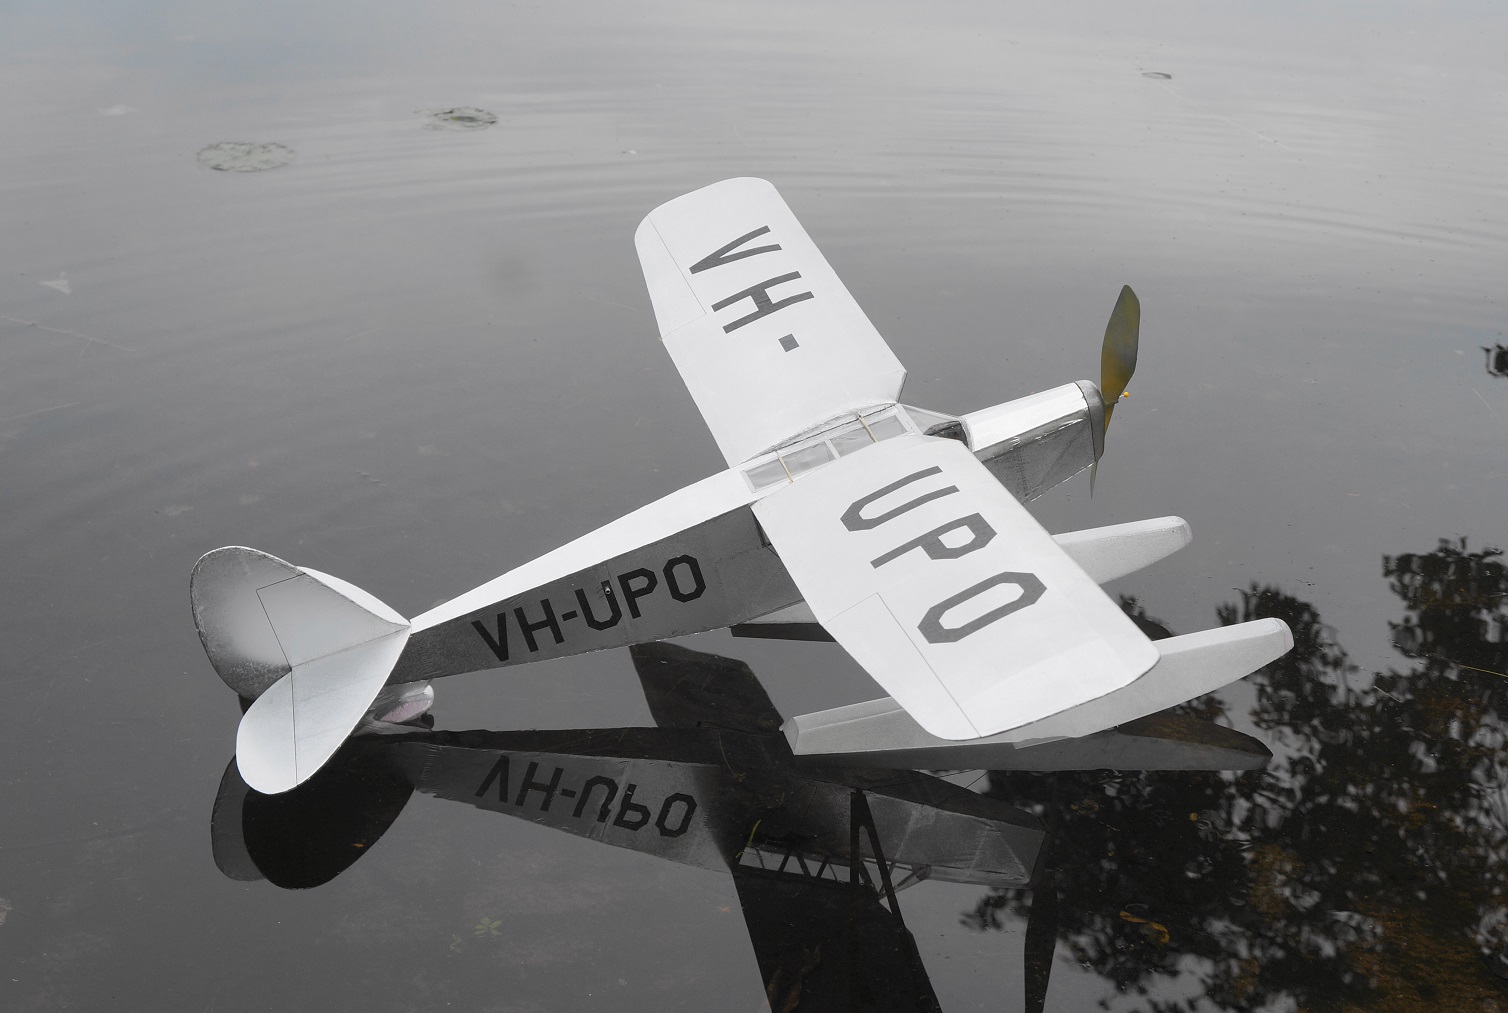
One question was size. I had built several models with 1mm Depron sheet in the past and I felt that pontoons could be built light and strong at a larger size. I figured a 10 gram set of floats might be doable on a simplified scale model with a 45 gram all up weight and wing loading in the .25-.30g/sq in range. This light wing loading would make it easier for the model to “unstick” and ROW (Rise Off Water) and yield a slower flight pattern that should be easier to trim and control – helpful when flying over water. I drew up a 32 inch wingspan Puss Moth simplified scale model based on the great flying Comet Puss Moth dimer. The Folded Depron Foam Float has proven to be a fine match to this model which takes off and lands from the water very consistently. “Puss in Boots” met all of my design parameters and is a fine flyer. What fun to watch it head out on a straight and realistic takeoff run, make a few circuits at altitude and glide back down to a smooth landing on the water.
Puss Moth floatplane plan is available here.
Float Construction
Building the float is straightforward using the patterns on the plans. Cut out the three main 1MM Depron sheet pieces for each pontoon – one Side & Top piece and the two Float Bottom pieces. Next, cut the five float formers from 3MM Depron sheet or foam tray material. Crease the Side & Top piece along the fold lines by running the rounded wheel of a window screen replacement tool along a straightedge. Press down firmly on the tool to create two distinct rounded creases along the fold lines. Once this is done, set the Side & Top piece flat on the workbench with the creases up. The formers are then glued onto the top section at the marked locations using a foam adhesive. I use FoamTac which is a contact adhesive that, when applied sparingly, holds fast very quickly. Apply FoamTac to the former sides and bend the Depron sheet at the crease down to the former sides. With these few steps you will quickly have a pontoon. Do not glue the Float Bottom pieces on yet – you must first install the float mount reinforcements inside and then the mounting pad on outside of the pontoon. Use stiff quarter-grained 1/32 sheet balsa for the Landing Gear Mount reinforcements and pads. Squash a section of 1/8 O.D. (outside diameter) aluminum tubing in a vise or flat nosed pliers for the LG Mount Lug. Drill the two .020 dia holes for the main axle and bend up the ends of the flattened tubing per the plan to fabricate the Lug. Glue the 1/32 sheet mounting pad to the top of the pontoon just ahead of former C. I use Titebond 2 (waterproof glue) for this. Glue the LG Mount Lug to this balsa pad in the location on the plan using Cyanoacrylate glue. Use a fine pin to make holes through the mounting plate and internal doubler then lace the Lug to the plate with thread. Cyano the thread to both plates and the Lug to secure.
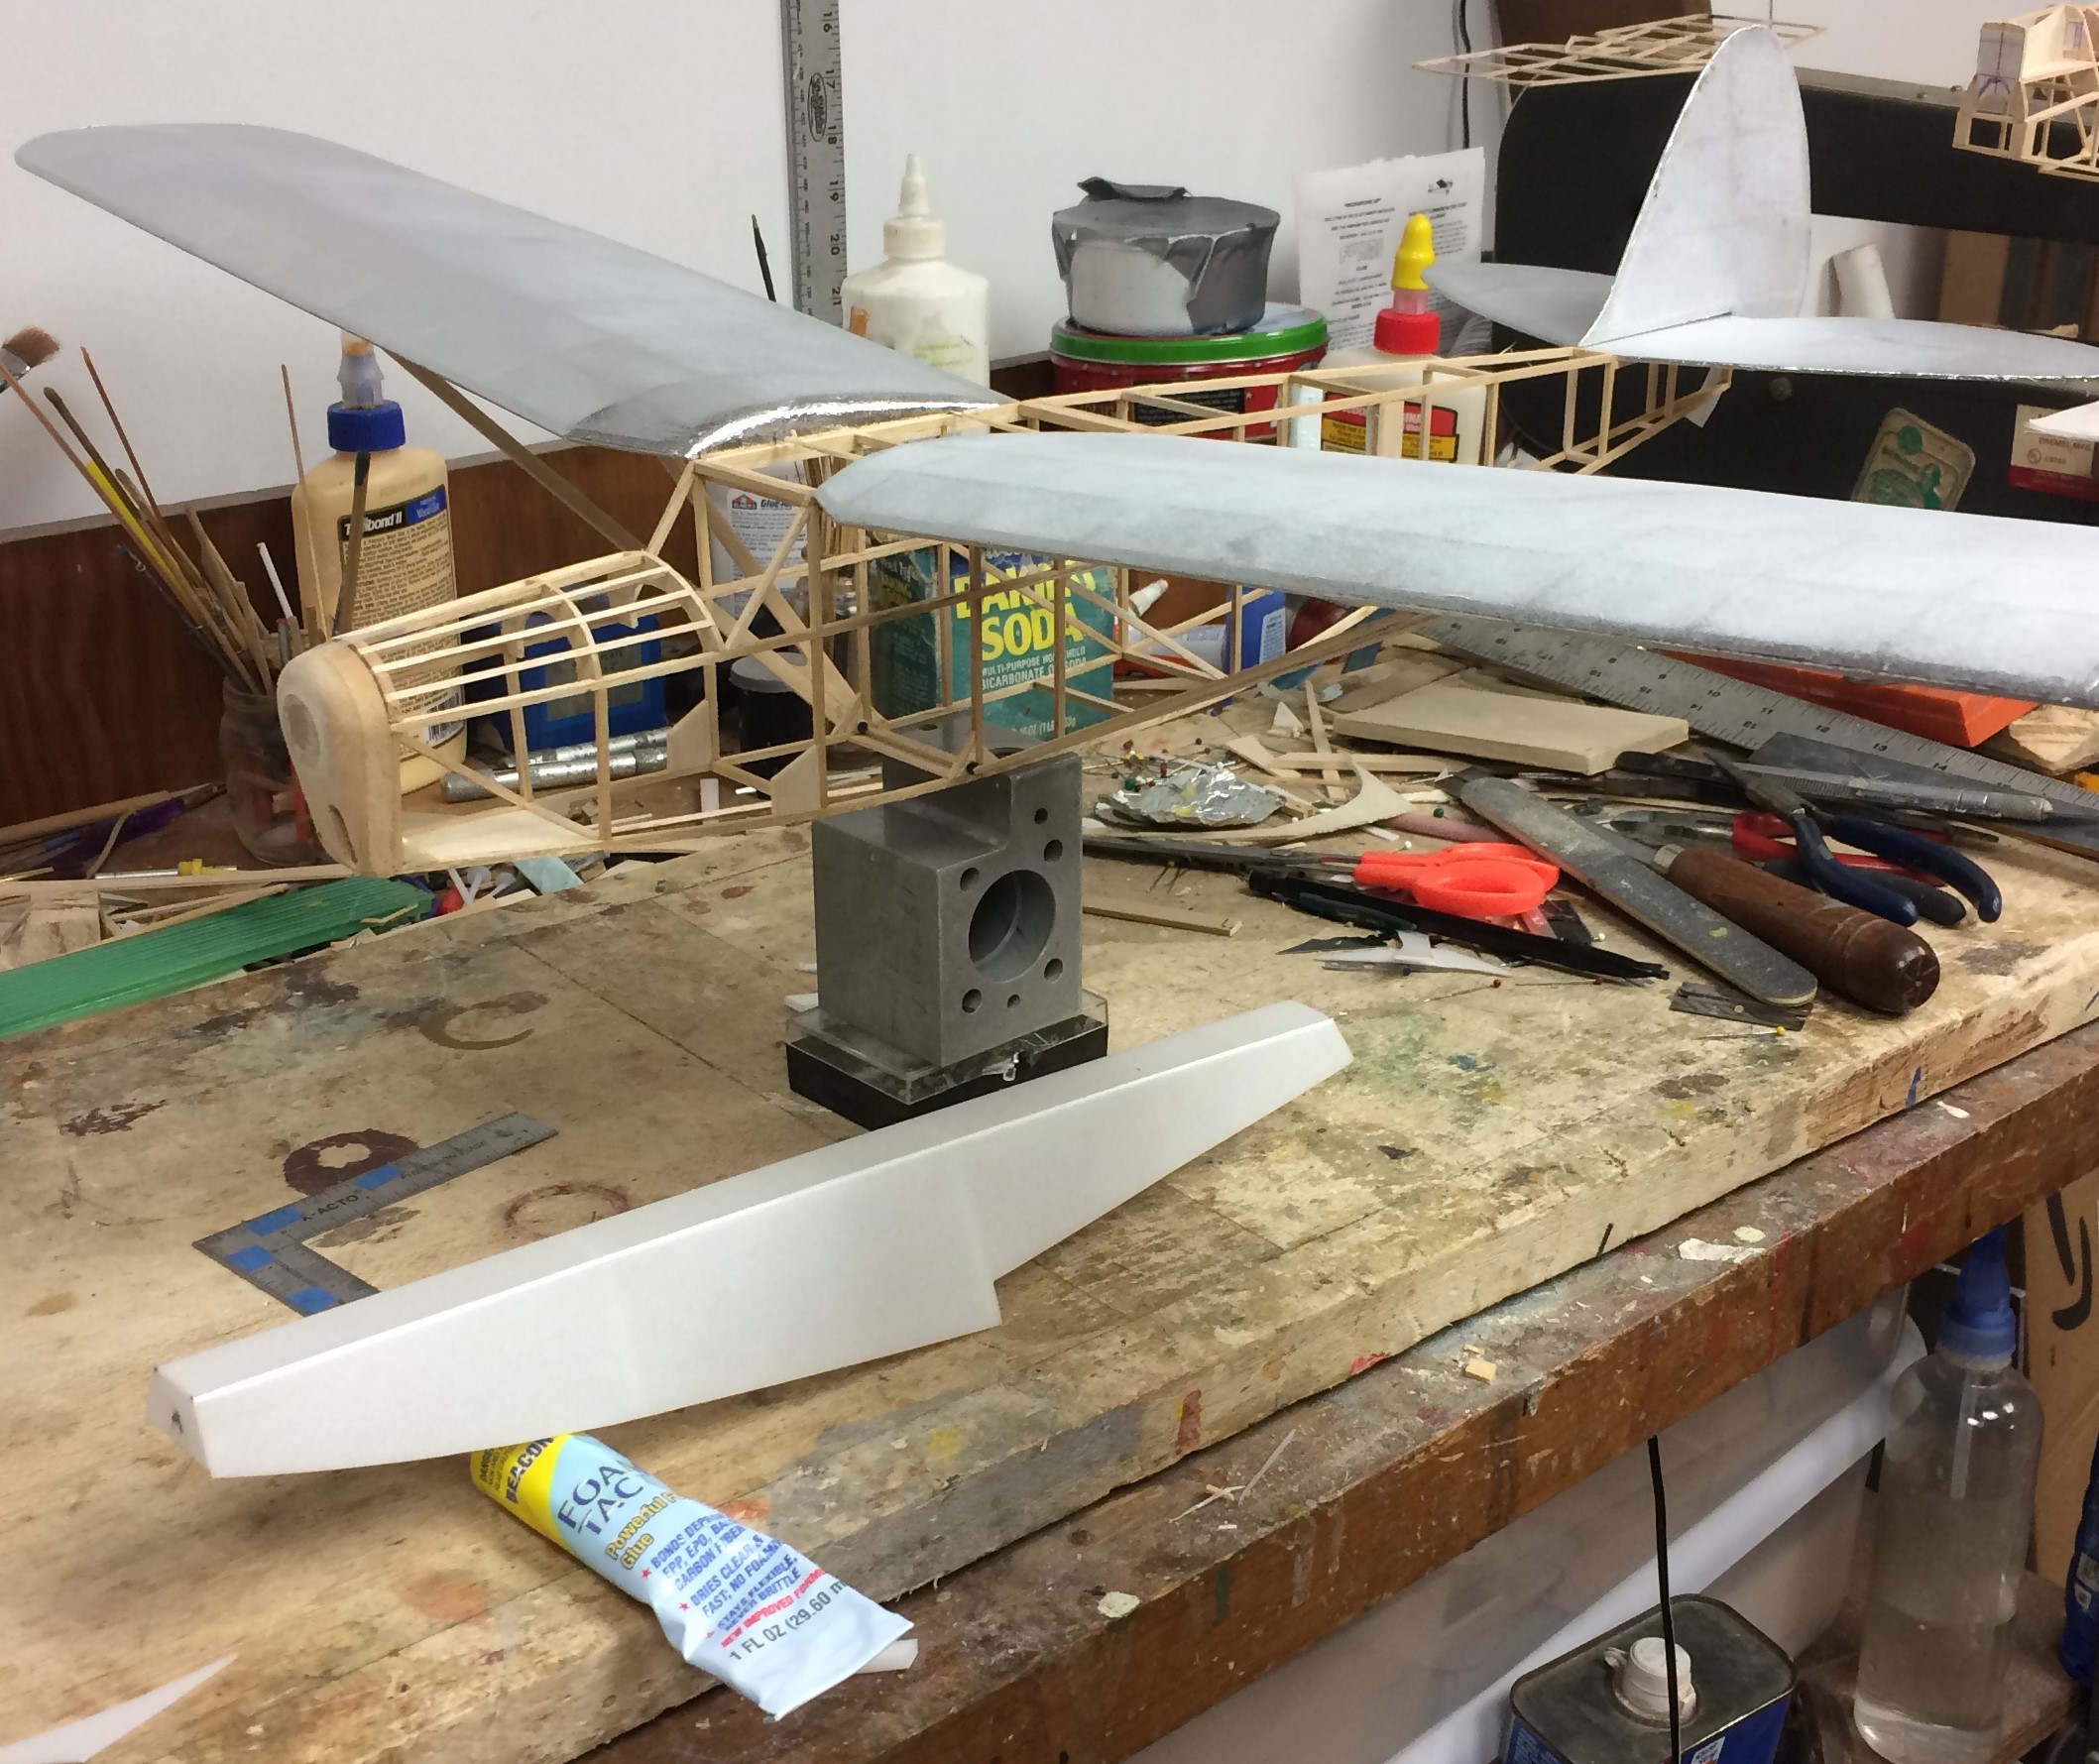
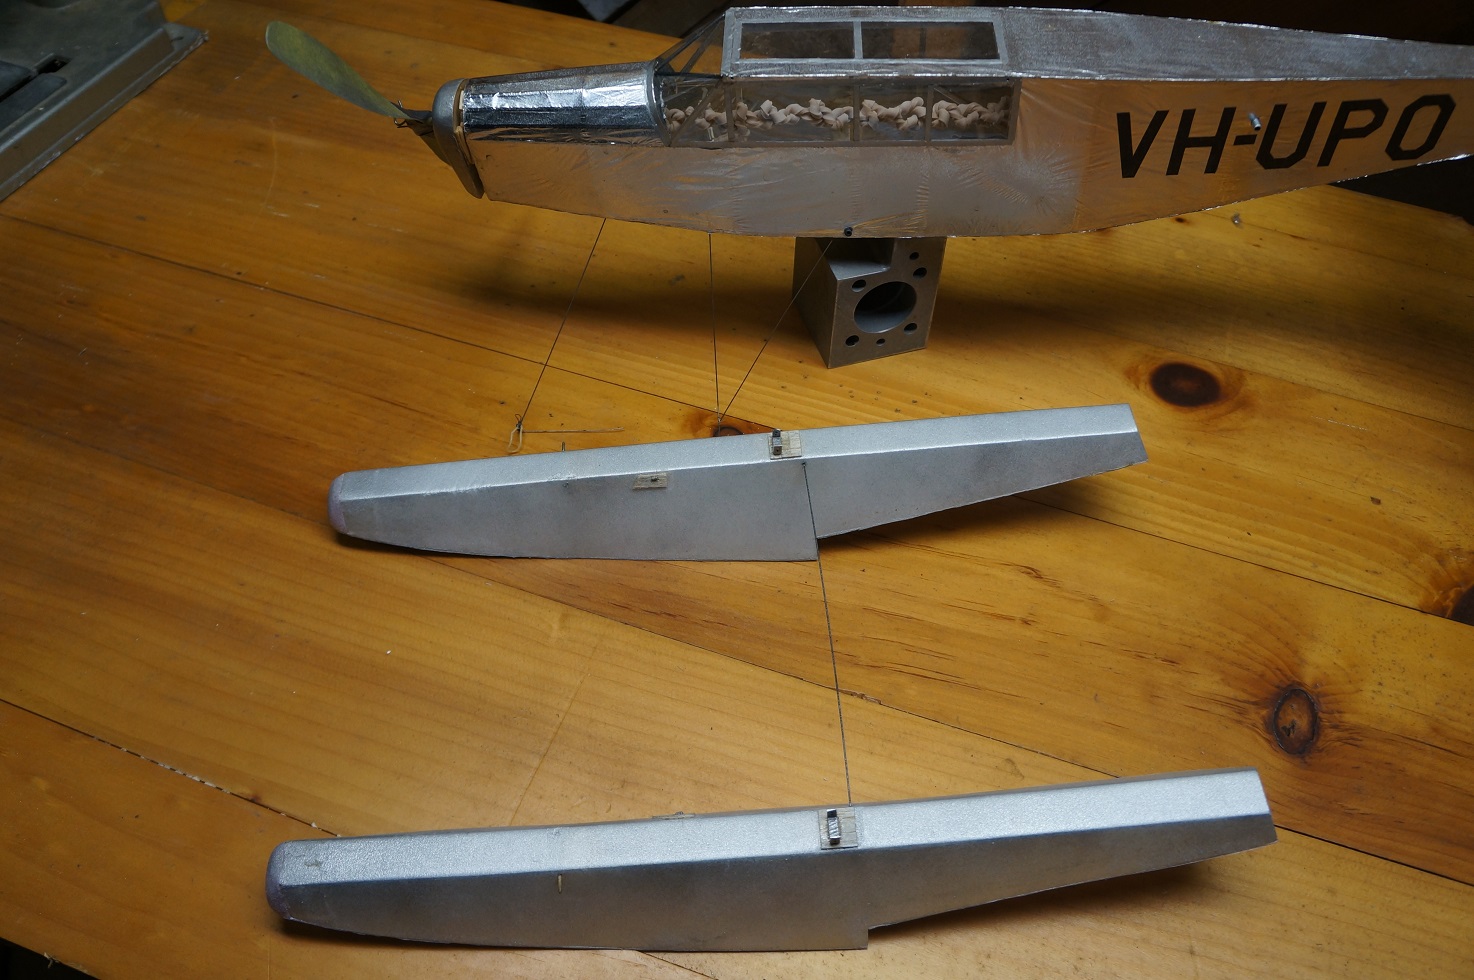
Spreader Installation & Forward LG Leg Attachment
There are a few more steps prior to gluing the 1MM Depron float bottom pieces in place. Cut and install the .020 Carbon Fiber rod Spreader and Hold Down Pins, epoxying these in place in the corners between the 1/32 sheet balsa reinforcements and the foam float formers as shown on the Plan. Note that there is only a rear spreader tying the floats together at the main axle/LG Mount Lug which is free to pivot rearward when the model is at rest on the water. The front of the pontoons are located only by the Forward LG Leg – the end of which is cemented to a 1/32 sheet balsa pad and tied down to the float top by a Dental Band crossed and looped over the ends of the Carbon Fiber Hold Down Pins. The accompanying photos show an earlier torsion spring mounted front LG Leg that was later modified to the simpler design described above on the plan.
A forward Spreader is not necessary. In fact, there is some thinking that it is helpful to allow each pontoon to find its best position independently during the takeoff run. Once the Spreader and Hold Down Pins are epoxied in place inside the float, the 1MM Depron float bottom pieces can be cemented in place to close up the pontoon. Block sand the float side bottom edges to ensure the bottom pieces lay smoothly and fit well. Use FoamTac adhesive again here for a watertight seal.
Build and Attach the Second Pontoon
Repeat the construction steps above to build the second pontoon along with its 1/32 sheet mounting and reinforcement pads, the Hold Down Pin and the LG Mount Lug. Epoxy the free end of the Spreader into place in the second pontoon. Once the epoxy is set you can install the 1MM Depron float bottom pieces with FoamTac.
At this point you will have a lightweight set of foam pontoons tied together by one very thin and flexible Carbon Fiber rod Spreader. You must handle this float assembly very carefully when it is not mounted on the model. Yes, the finished float assembly is removable for transport, repair, etc.
Next, carefully cut, install and shape the white foam nosepiece for each pontoon. Nosepiece shape is not critical, but it should be faired smoothly with the Depron top, sides and bottom of the float. Handle the float assembly carefully during this process to avoid stress and damage at the Spreader attach points.
The pontoons are waterproof and require no finish to seal. I sprayed a light coat of foam-safe Design Master Silver to the float assembly to add realism.
An Important Final Step
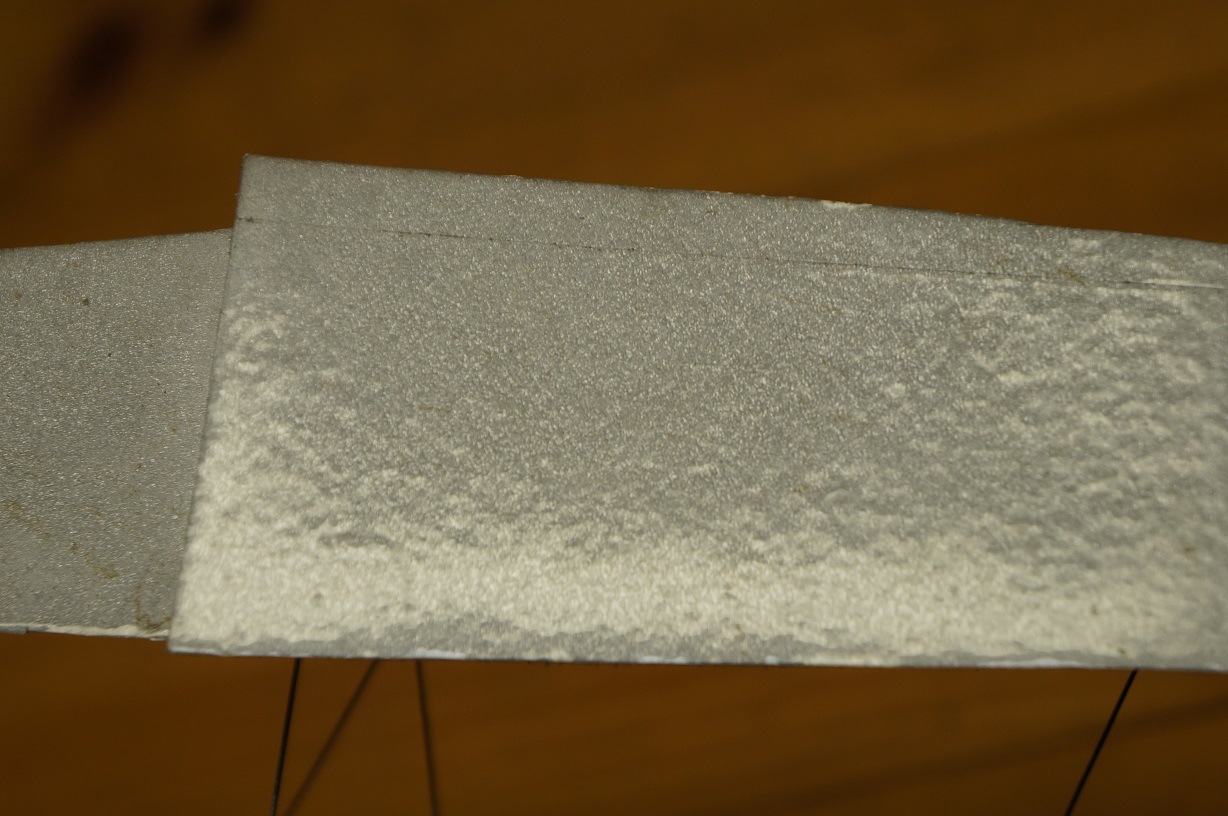
Apply a strip of lightweight clear packing tape to the Float Bottom pieces before and after the Step. The forward piece of tape should extend to the bottom front of the float nosepiece. The aft piece of tape should extend from the Step former C to the rear edge at Former E. Trim the tape at the float sides, Step and stern with sharp scissors or a razor to minimize drag in the water.
Packing tape provides a much lower drag surface to the water than the slightly textured surface of Depron sheet foam. This trick will increase the efficiency of your floats and help it to ROW with less power.
Float Operation on the Water
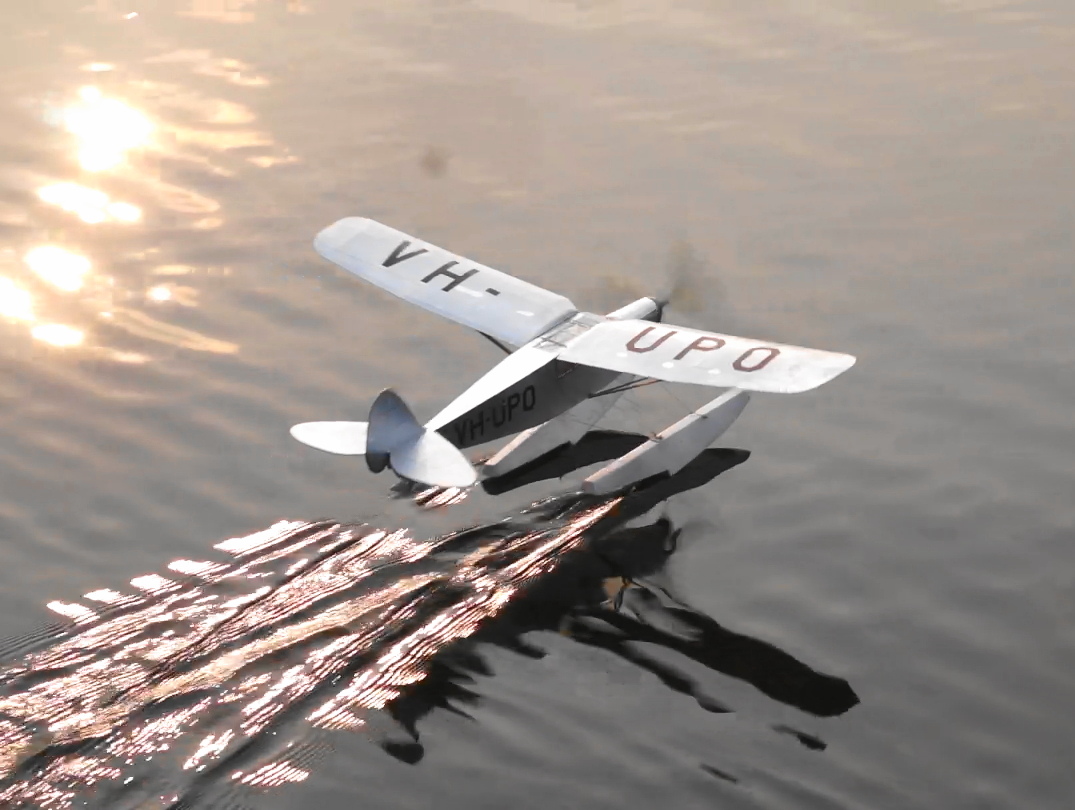
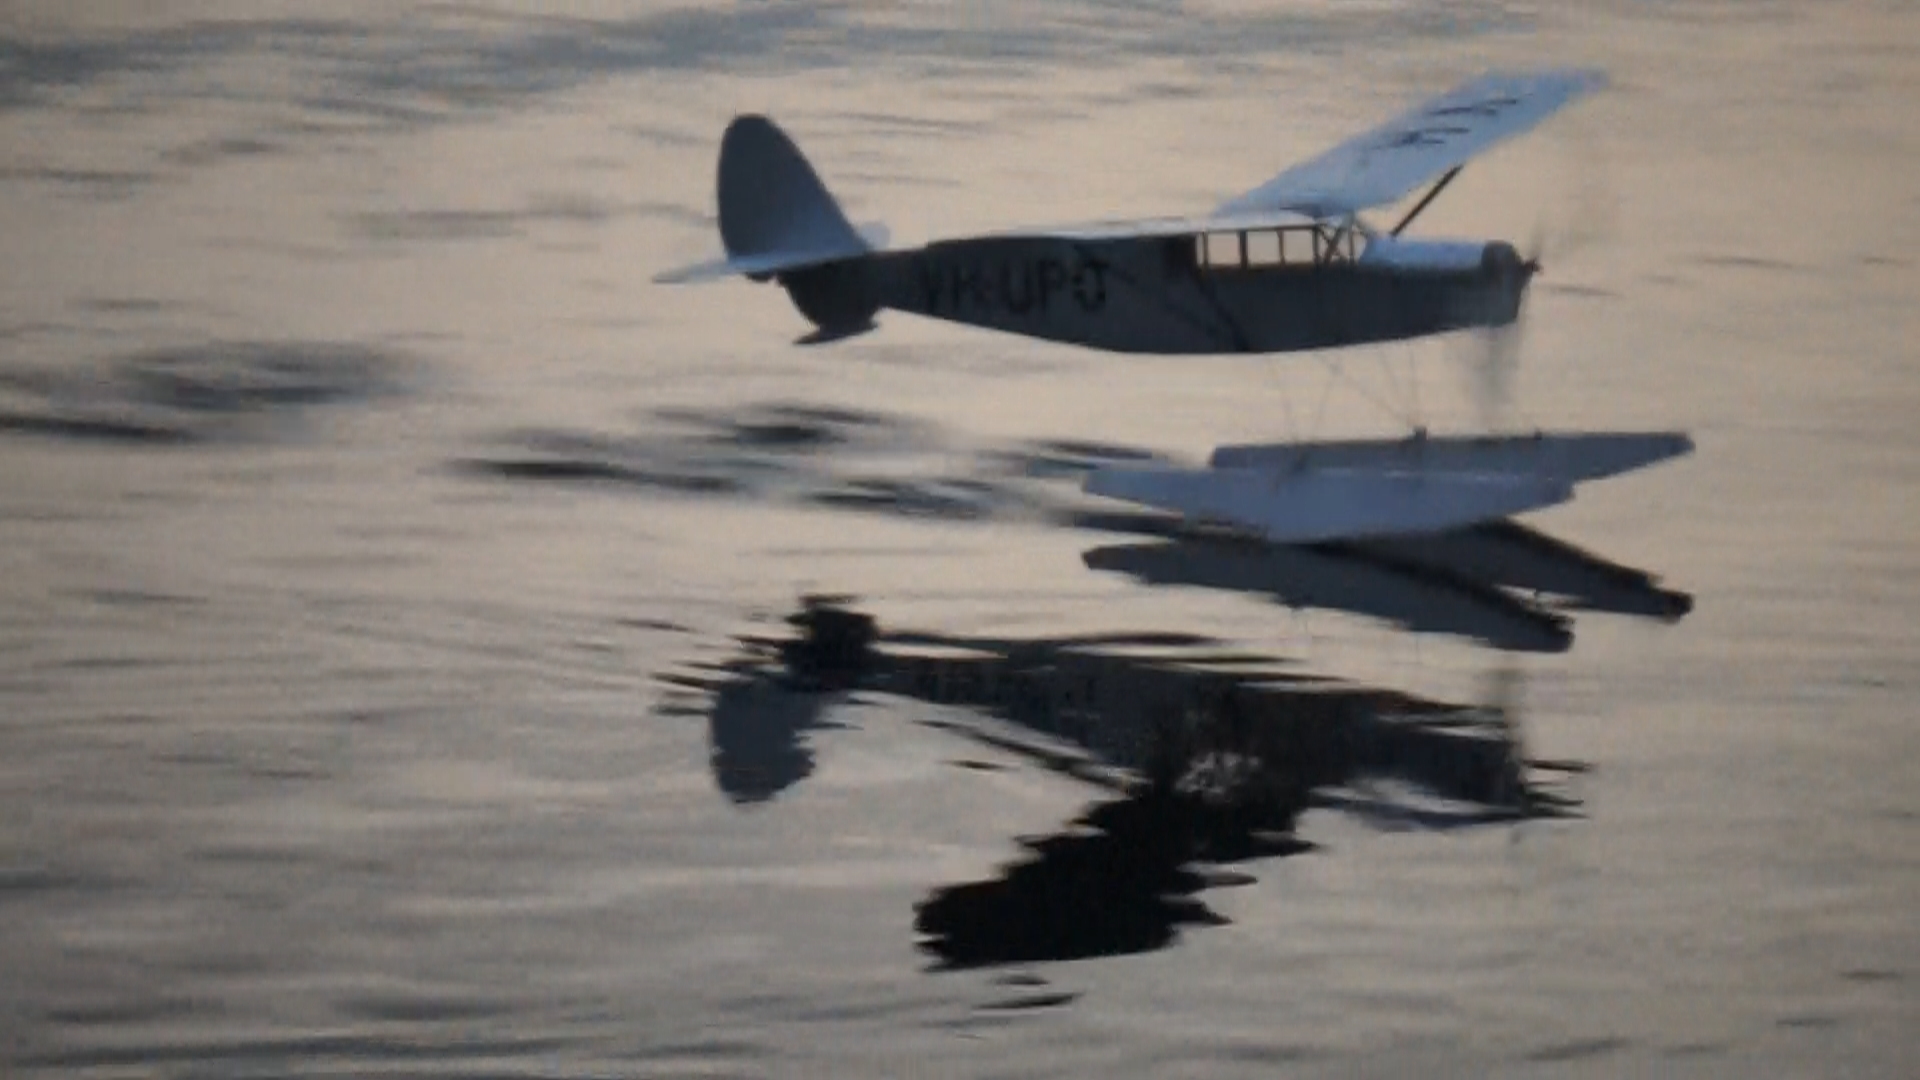
With the model at rest on the water, the main LG Leg and axle is pivoted rearward, such that the tail float is resting on the water. In this three point resting position, the Forward LG Leg and pad will lift from the top surface of the float, restrained by the Dental Band tie down. As the model begins its takeoff run under power and rotates onto the Step to ROW, the main LG Leg and axle pivots forward and the Dental Band pulls the Forward LG Leg back onto the top of the pontoon. This pivoting action brings the “unloaded” pontoons to a level position helping the model onto the Step for liftoff and once in the air, placing the float in a slight nose up attitude for landing back onto the water.
The Vermont water flyers call this sequence of takeoff, flight and landing on the water ROLO – Rise Off water, Land On water. Rethink your “flying field” and give it a try….it’s a lot of fun!
Four main design principles: lightness, waterproofing, simplicity, and step efficiency.