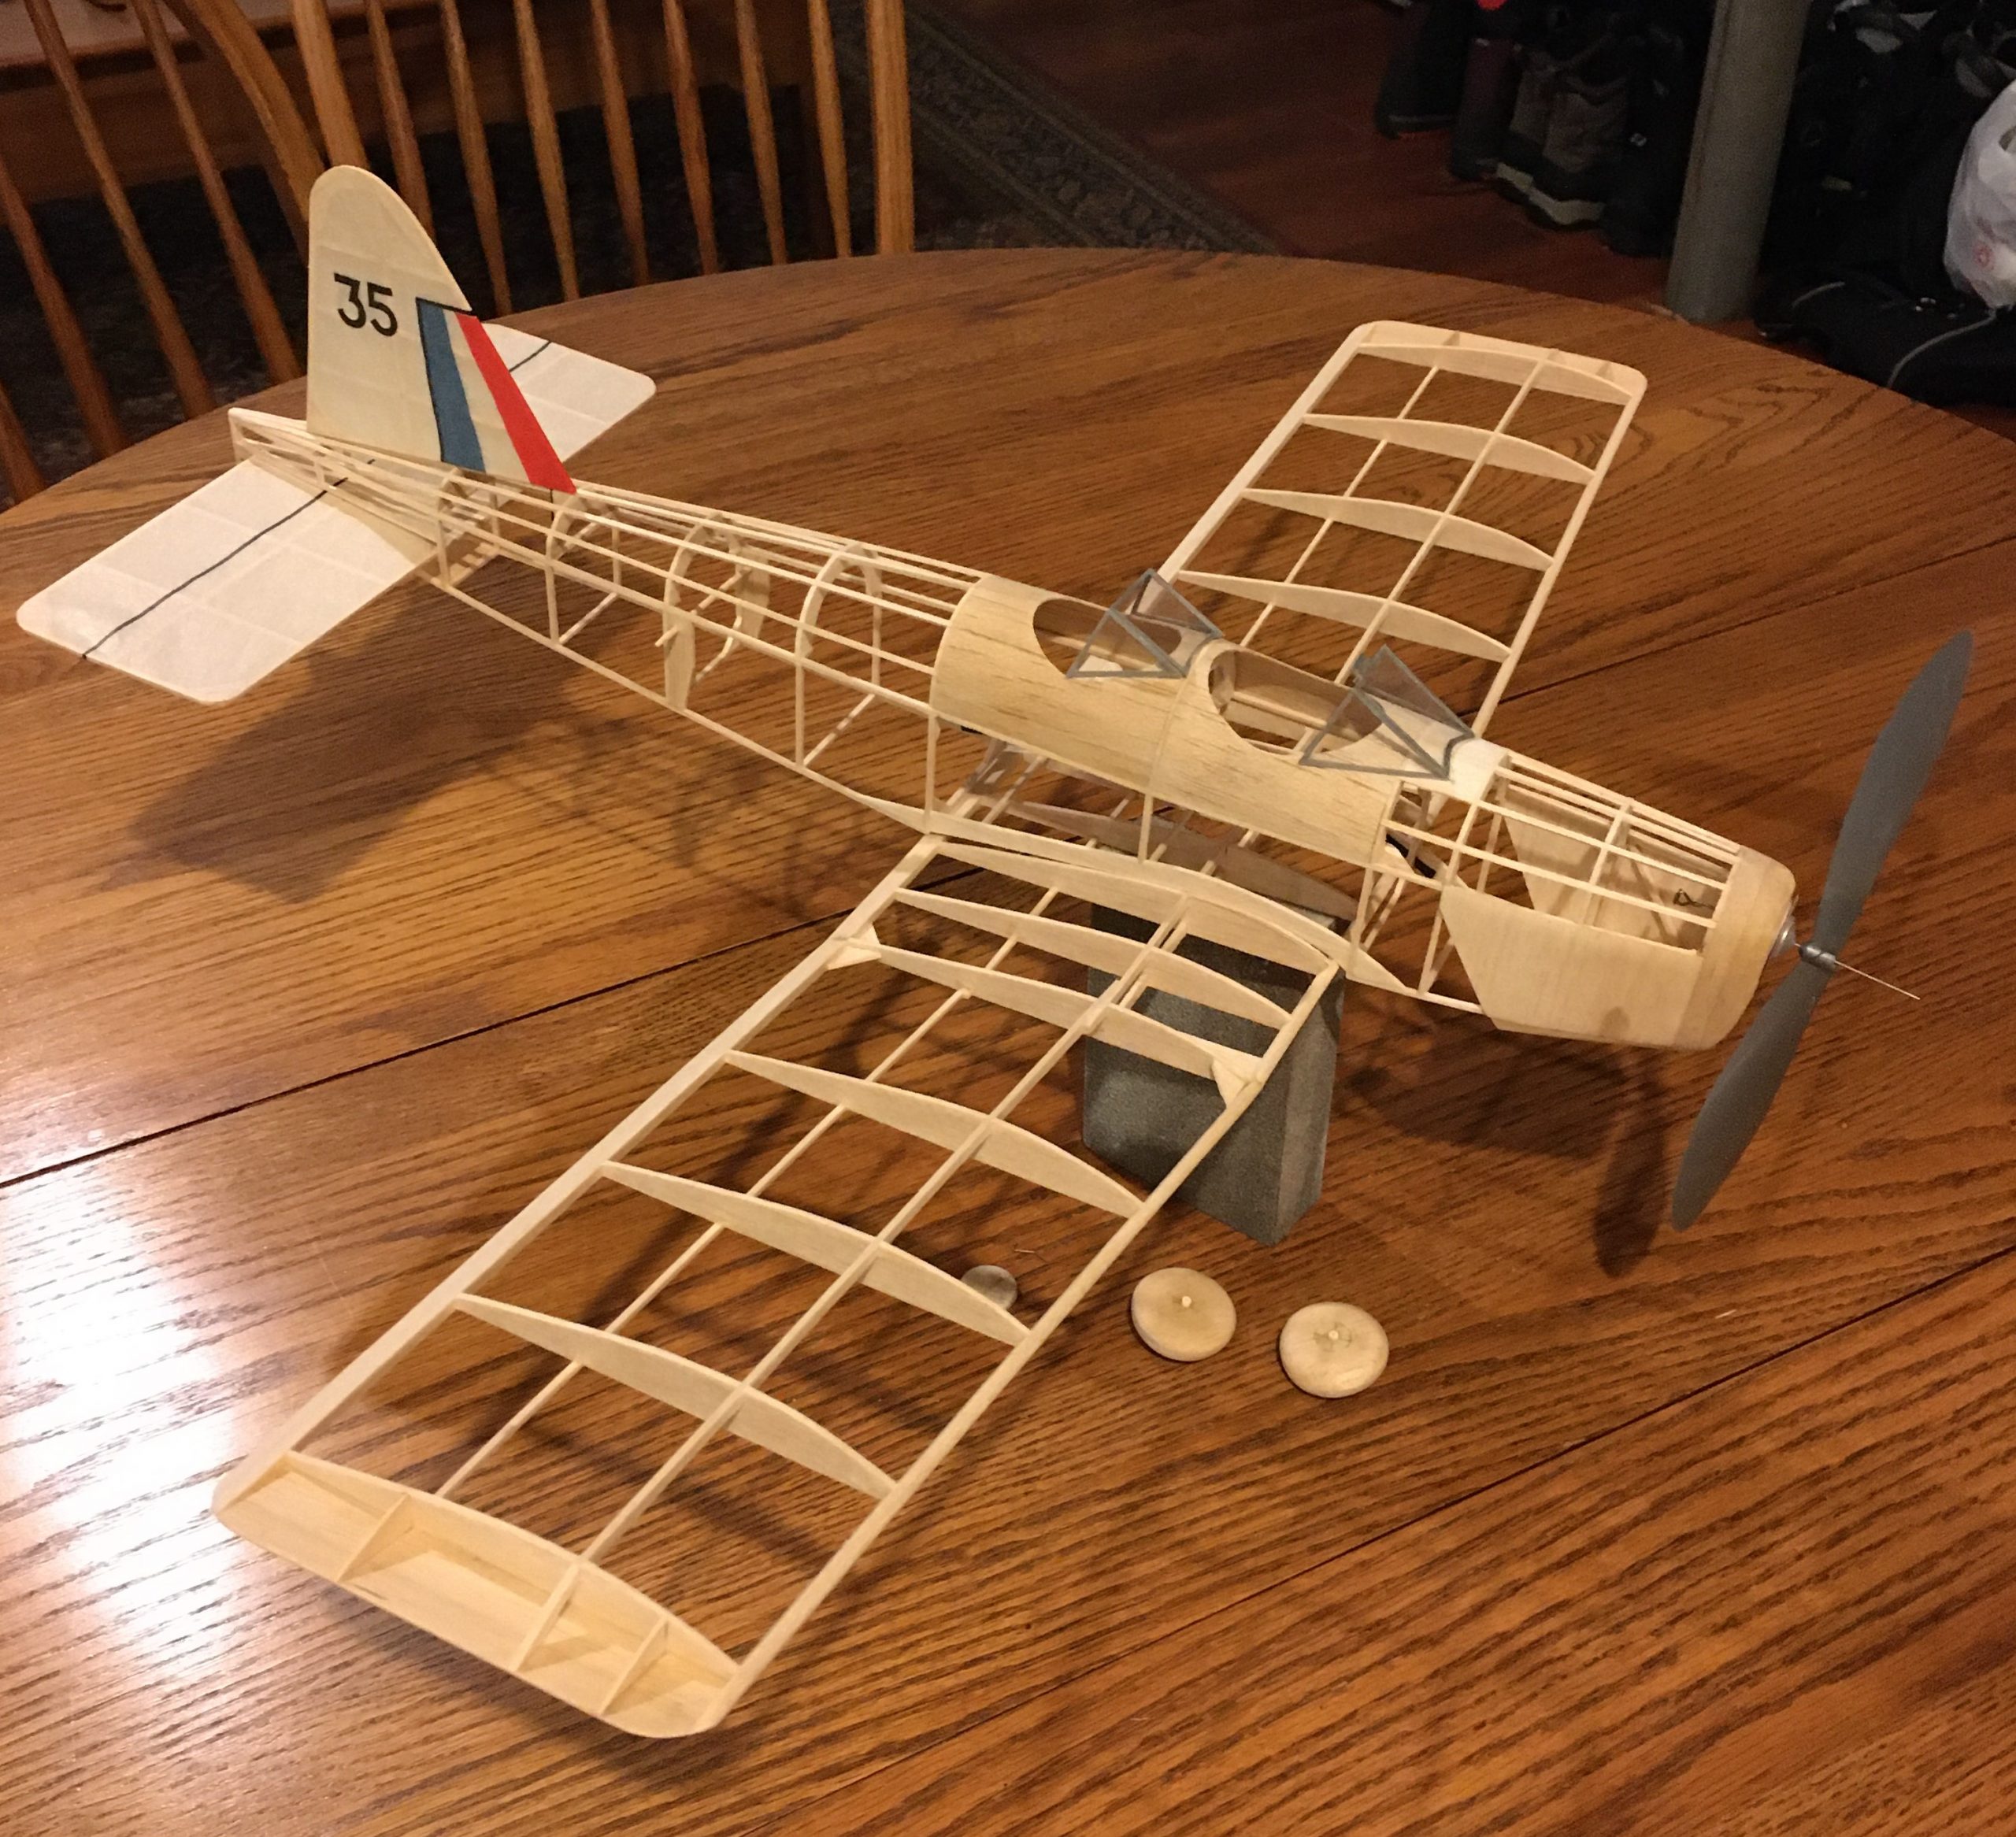
Another two weeks have passed (4 weeks total) and the builders are making good progress. All three are experienced modelers and are making minor modifications from the plan as they proceed. Such is the attraction of scratch building – the builder has the freedom to inject their own preferences into the build.
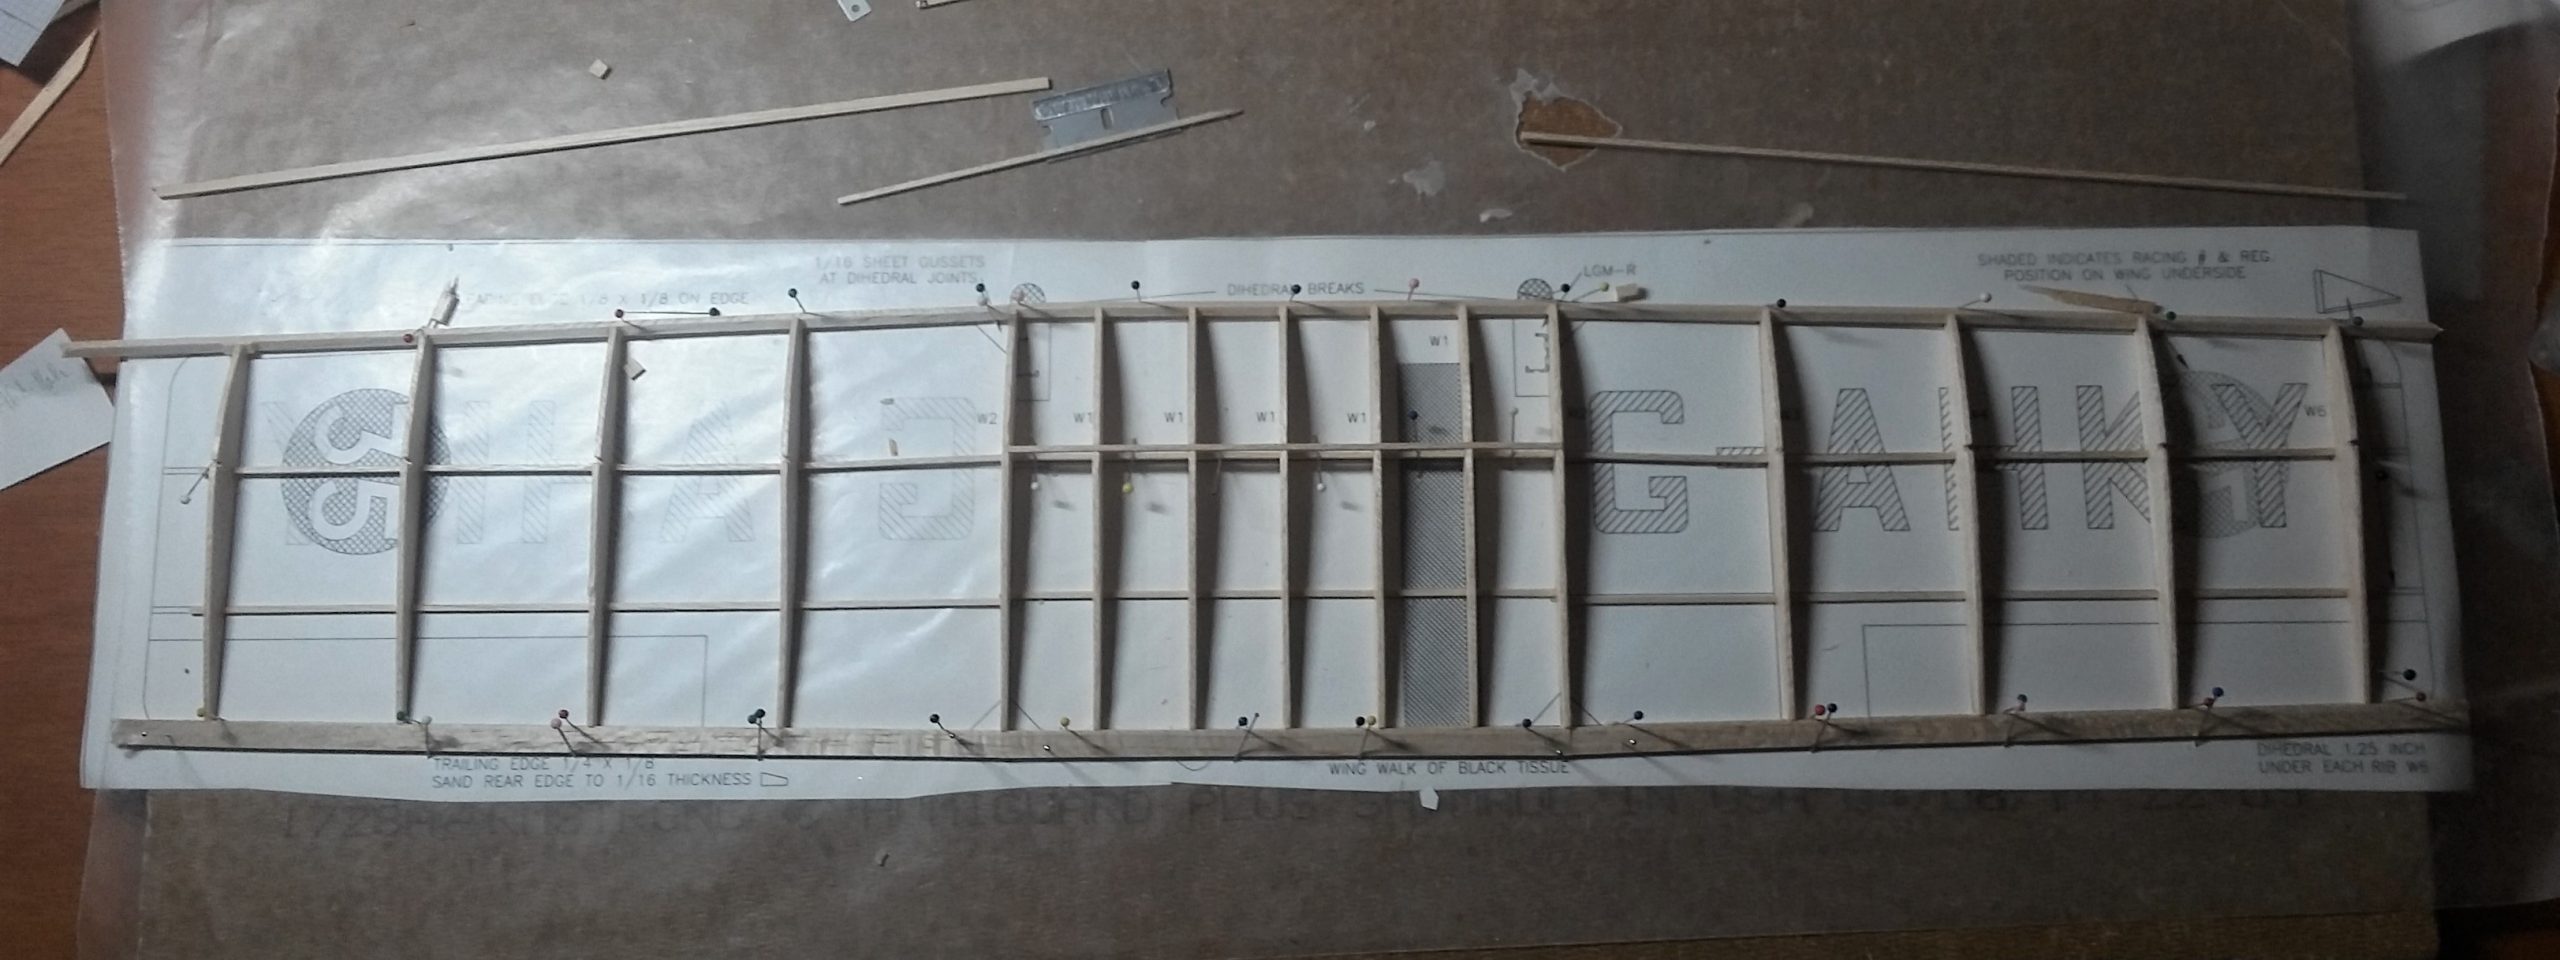
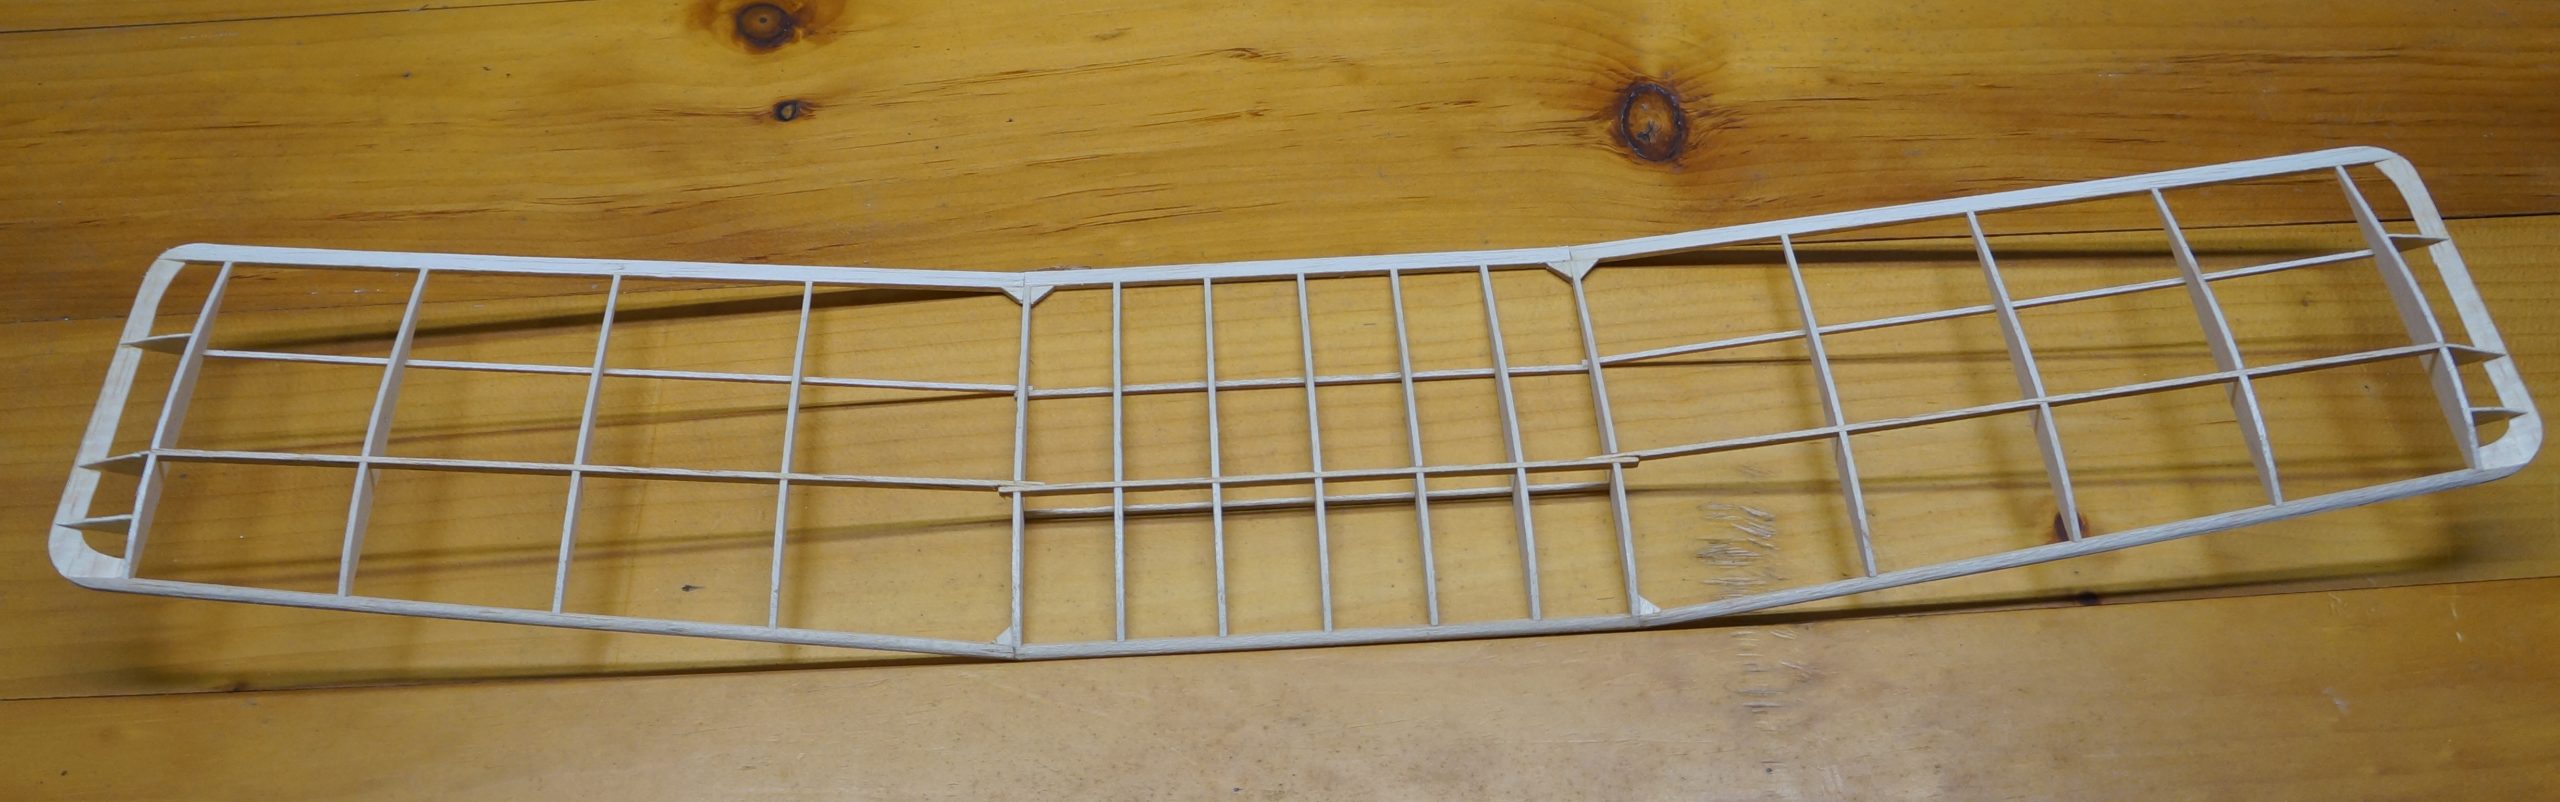
Wing Construction
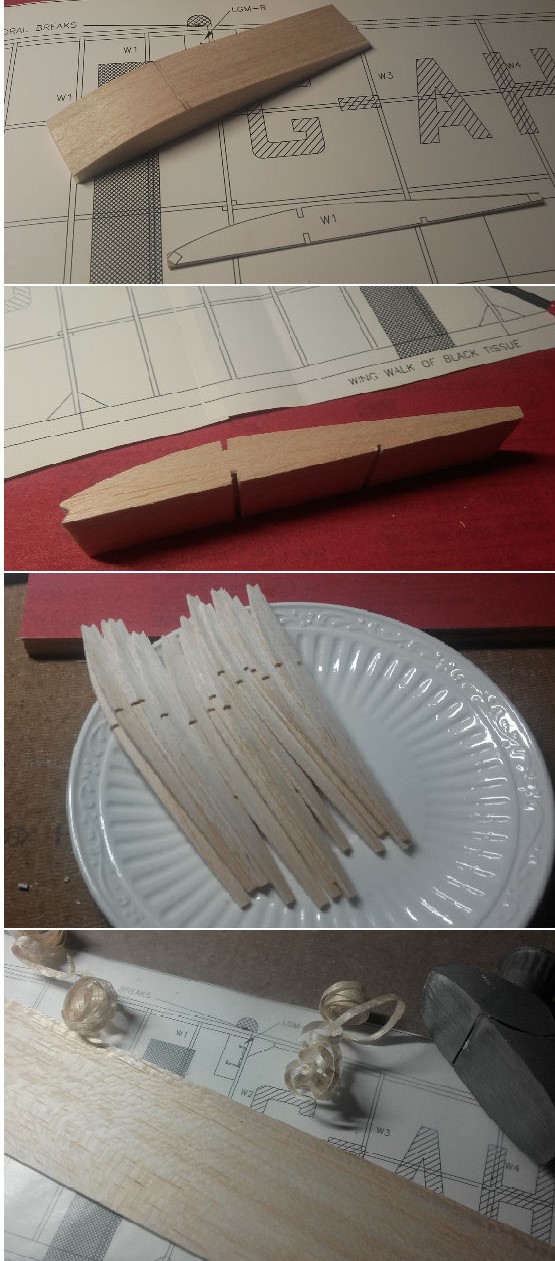
For “plank” wings like the M.18’s, our West Coast modeler likes to make a plywood template to cut identical ribs. He then glues those blanks together with a glue stick, sanding the resulting block of ribs to make them all identical. Then he cuts the spar notches and bird’s mouth for the Leading Edge with a blade or file. Soaking the block in rubbing alcohol dissolves the glue stick, and once the alcohol dries off, a stack of perfectly identical ribs is the result. The slight taper of the Miles wing does require altering the ribs slightly for the outboard panels, but this is easily done keying off the main spar notches to keep everything true.
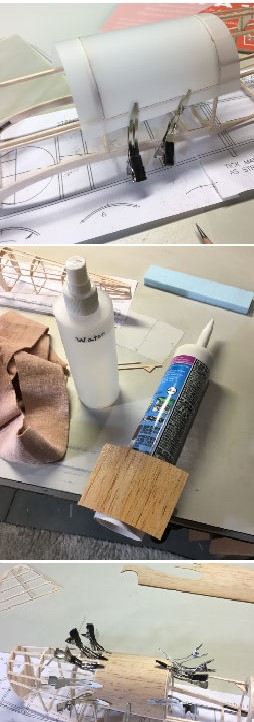
Fuselage Construction – Part 2
Our West Coast modeler took a slightly different path in constructing the fuselage box. He built the fuselage sides directly atop each other, at the same time, with no saran wrap in between. He’s careful with glue (CyA) and slides a single edge razor between the constructed sides to separate them. He also used small dryer sheet pieces to reinforce the wing saddle joints and installed 1/64 plywood rear motor peg doublers.
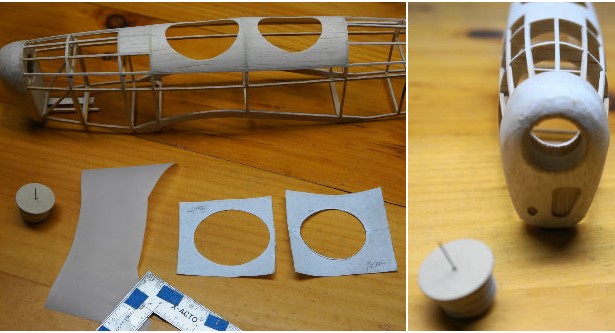
Cockpit & Nose area
Ah, this is a tricky part – and one where builders take different approaches. The M.18 plan shows full sheeting in the cockpit area from the top longeron up. One modeler used a creative technique to mold, cut and fit this sheeting using a vellum template. Another used a similar light paper template technique, but sheeted only from the lowest stringer up. Interestingly, both modelers chose to install the M.18 cowl side panels not shown on the plan. One modeled this using sheet balsa while another used a vellum panel approach. Both techniques look great at this point.
Closing Build Update #2
Ok, we’re going to close this second M.18 build update here. These modelers are already progressing into the tissue covering and final assembly stages so it won’t be too long before the next update. Stay tuned!
Until then, keep those balsa chips flying! Don’t forget to post your constructive comments or questions (none are too basic).
Wing construction, Fuselage construction Part 2 and the first Trial Assembly