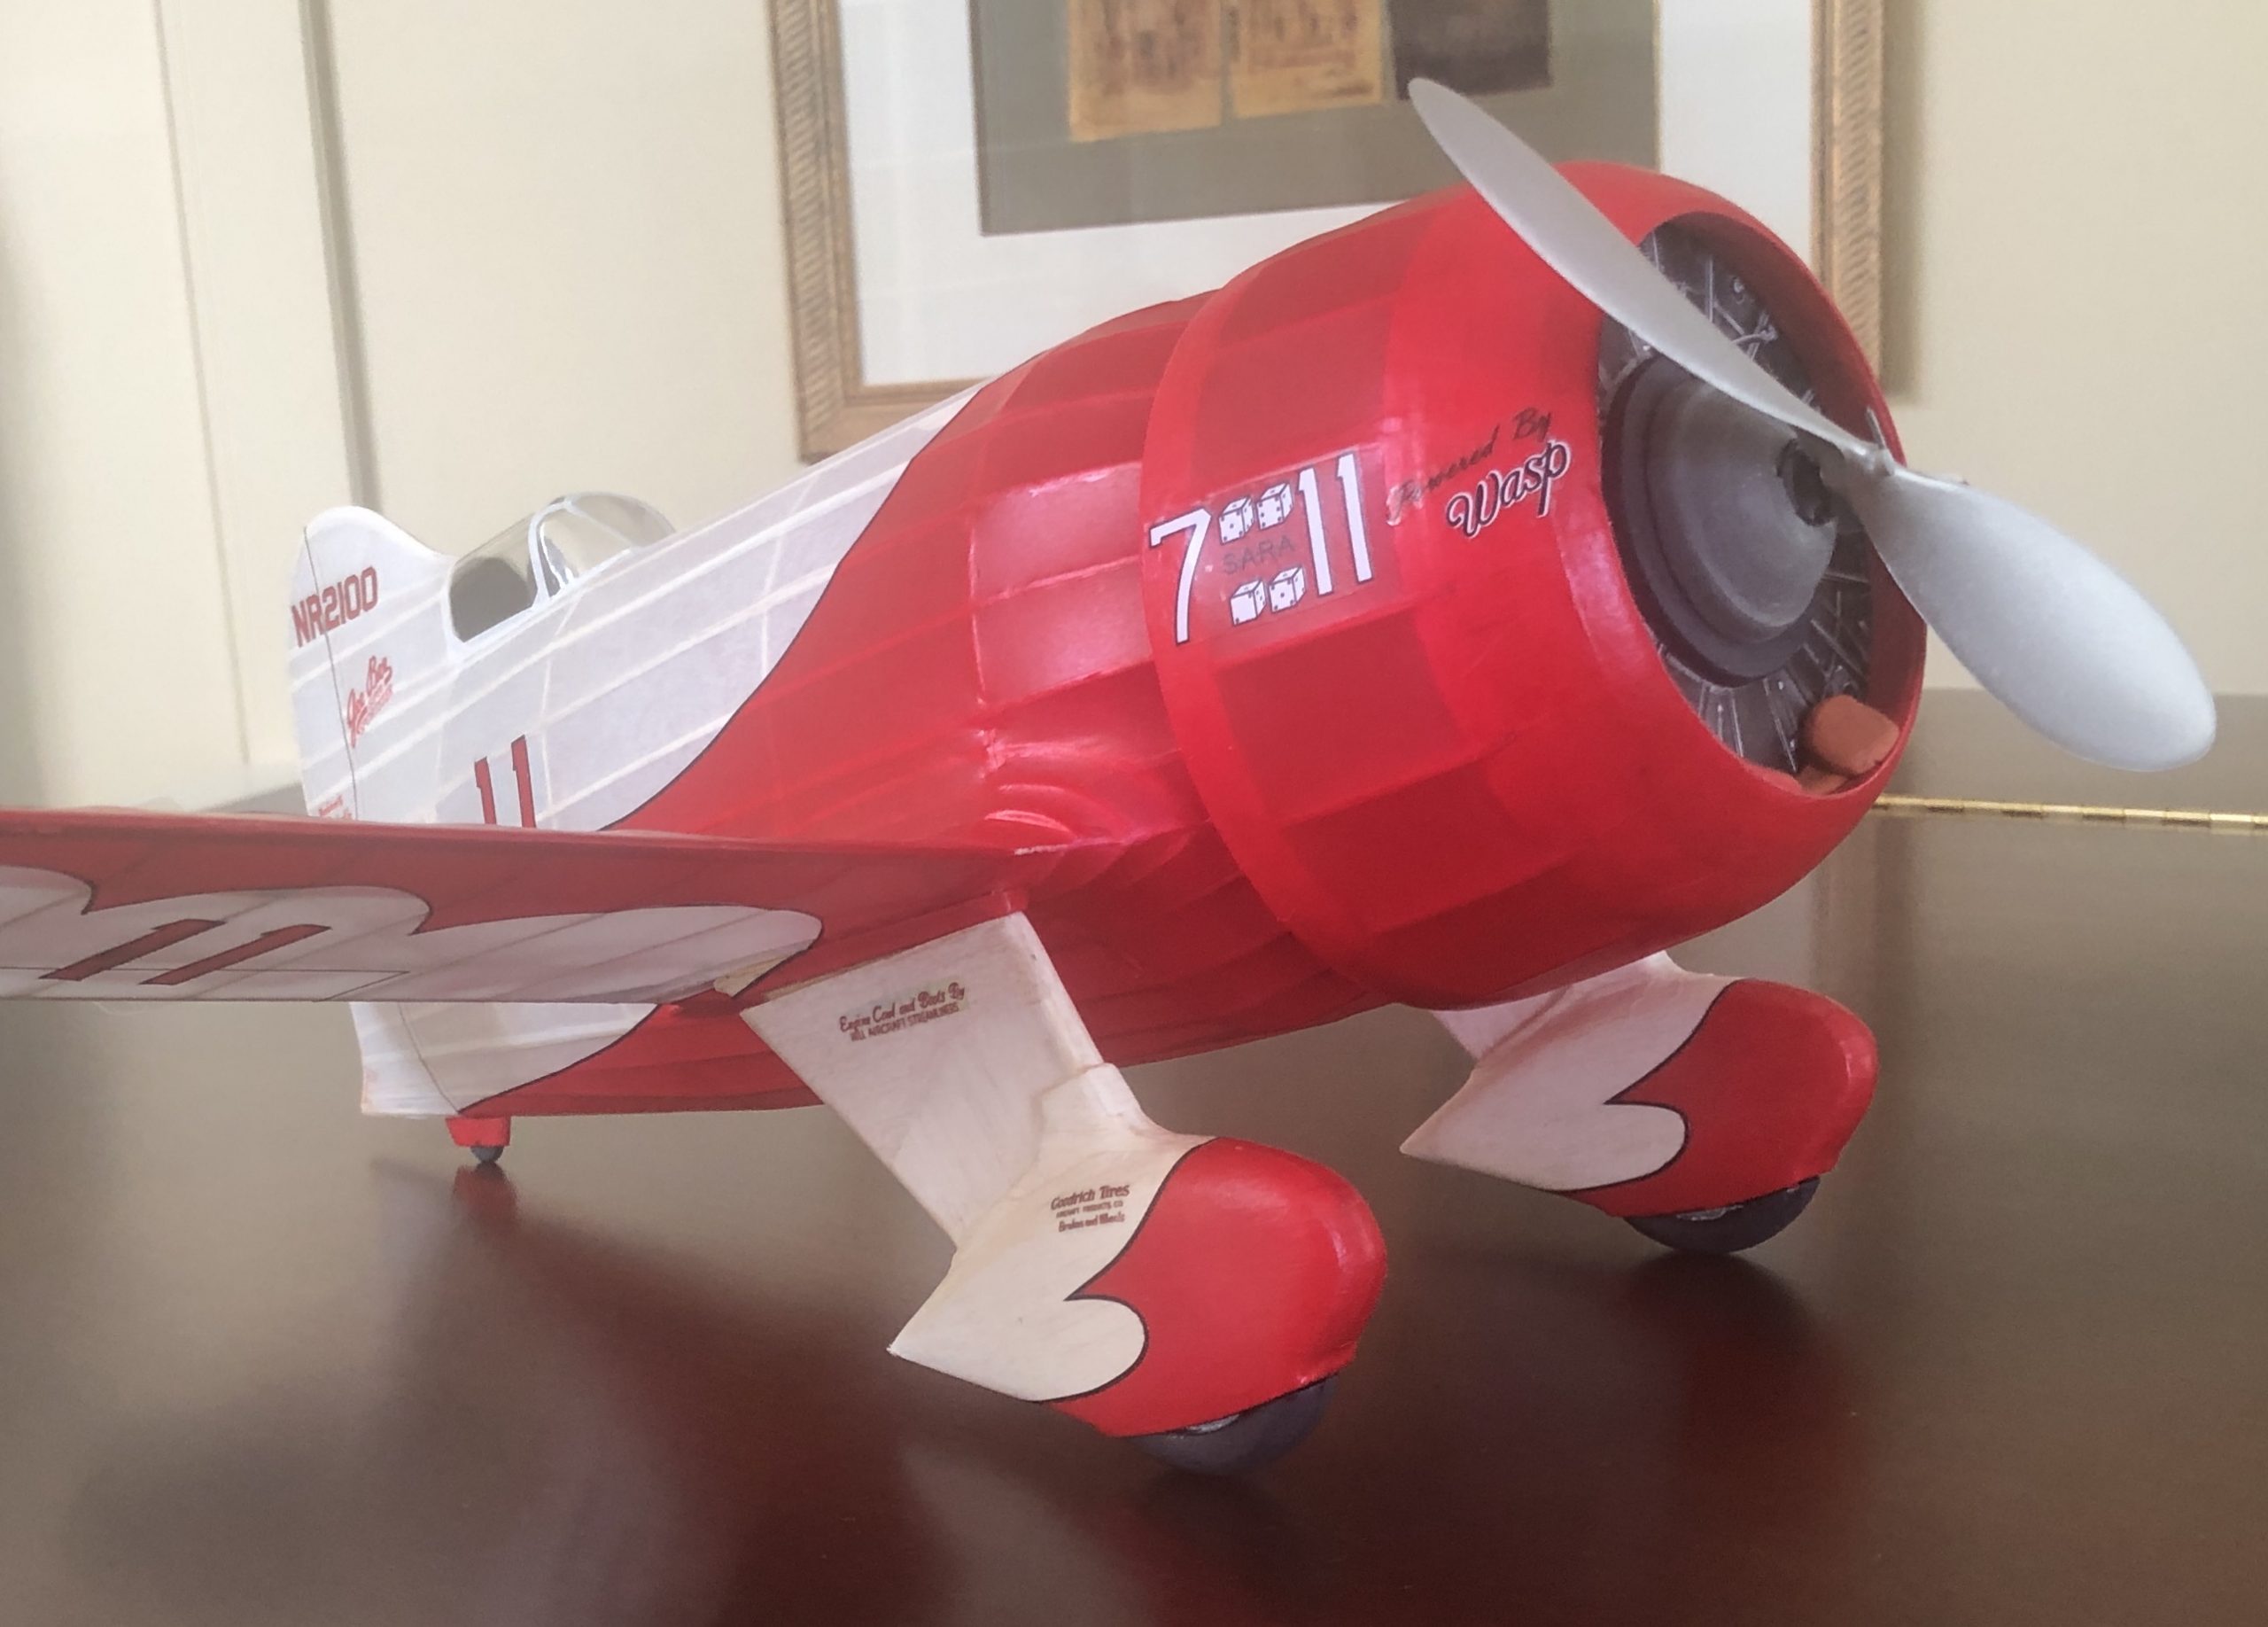
The R-1 has been on my Free-Flight (FF) build list for years. It is such an icon for aviation buffs- with its winning history and dramatic color scheme. As this ship moved up my build list, I began to reacquaint myself with the airplane and its history.
As a FF modeler, I’m always interested in knowing how stable the real airplane was. In many cases, a real airplane with good stability can be made to be a good FF model. I have seen Delmar Benjamin flying his R-2 firsthand at Oshkosh as well as videos seen on the web. I noted that Delmar did no aerobatics that would involve stalls, hammerheads, snap rolls, or other low speed/stalling maneuvers. Loops and axial rolls look to be very much in the sweet spot of the R-2, and by extension the R-1’s performance envelope.
Having recently watched the available period newsreel footage at the Cleveland Thompson Trophy races in 1932, The R-1 appears to be quite stable on takeoff, landing and in the air – and it was clearly the fastest airplane flying. Of course, having Jimmy Doolittle on the stick had a lot to do with it. He came to the Gee Bee R-1 from flying the Laird Super Solution the year before, and that airplane’s evolution to the Shell Lightning Solution just weeks before. Clearly, Mr. Doolittle was in fine, well-practiced form for handling the hottest racing ships of the day. I presume he was quite accustomed to seeing not much more than a big cowled radial in front of him on takeoff and landing with these ships. If one were to transition to flying an R-1 for the first time, Jimmy Doolittle’s logbook would show one how it might best be done.
I noted that the Granville Brothers design team were very careful in creating a very robust landing gear system. The gear was equipped with shock absorbing struts, a strong fork supporting the axle on either side of the wheels and the best tires and brakes available in that era. They all clearly understood that this would be a hot ship, with a touchdown somewhere in the region of 100 MPH on moderately prepared grass fields which were the standard of the day. It speaks very highly of the skills of the Granville Brothers and Pete Miller to design an airplane that stood up to this and won its first time out.
The Free Flight Model
Despite having several different R1/R2 Kits and plans pass through my hands over time, I never found a plan that I felt truly comfortable in building for one reason or another.
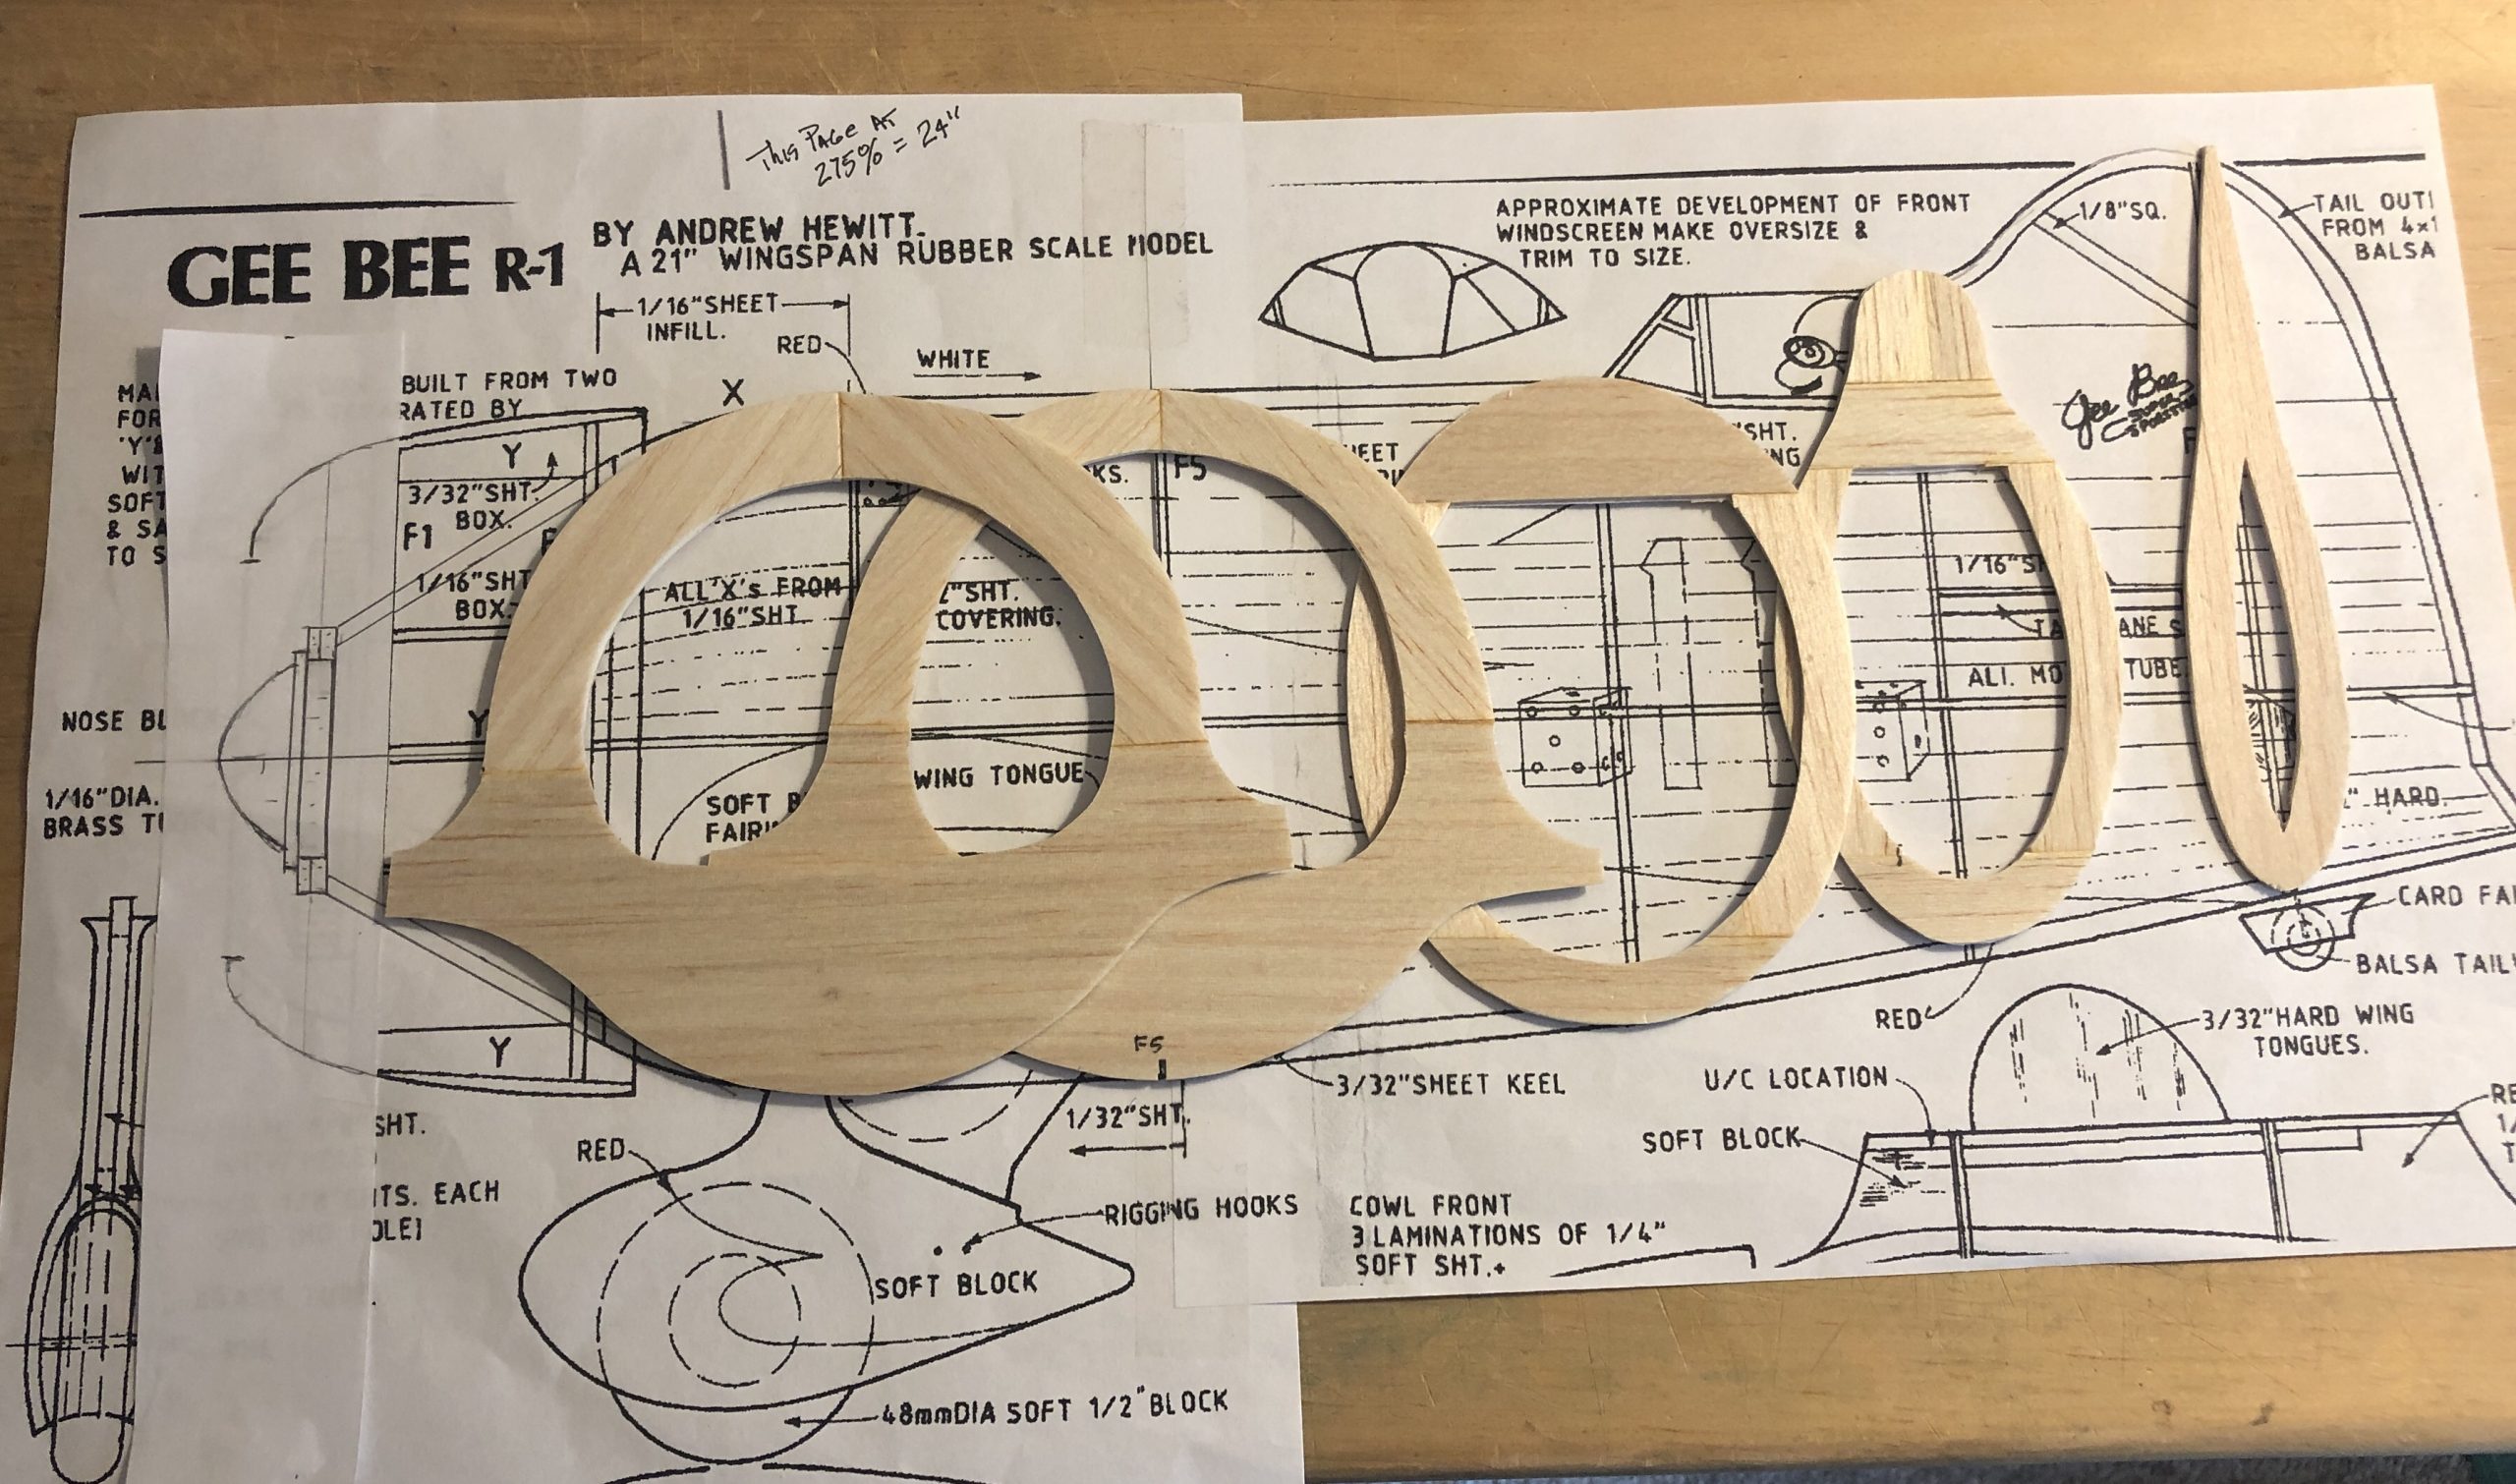
In April of 2019, I found the Andrew Hewitt R-1 Plan, which was published in Aeromodeller from the May 1991 issue. The fuselage shapes he drew appeared to be quite accurate to my eye, and his finished ship pictured in that article is/was truly a gem. However his model had much of the fuselage between the stringers filled in with balsa, which while giving a superb shape, that fill obviously added significant weight. Andrew’s ship came in with a finished weight of 156 grams spread over a 21″ span, so I knew it would be quite a challenge to fly reliably at that weight. And he indicated it was a “hot”, fast-flying ship for a rubber powered model.
I felt that I could use Andrew’s fuselage former shapes, and then edit the planking and other structure in order to make my ship considerably lighter. I would be building my ship to the more relaxed scale judging rules of the Flying Aces Club (FAC). The FAC puts a greater emphasis on flying duration over absolute scale fidelity. Combining this structural editing with my enlarging Andrew’s plan from 21″ span to 24″, I finally felt comfortable enough to begin building.
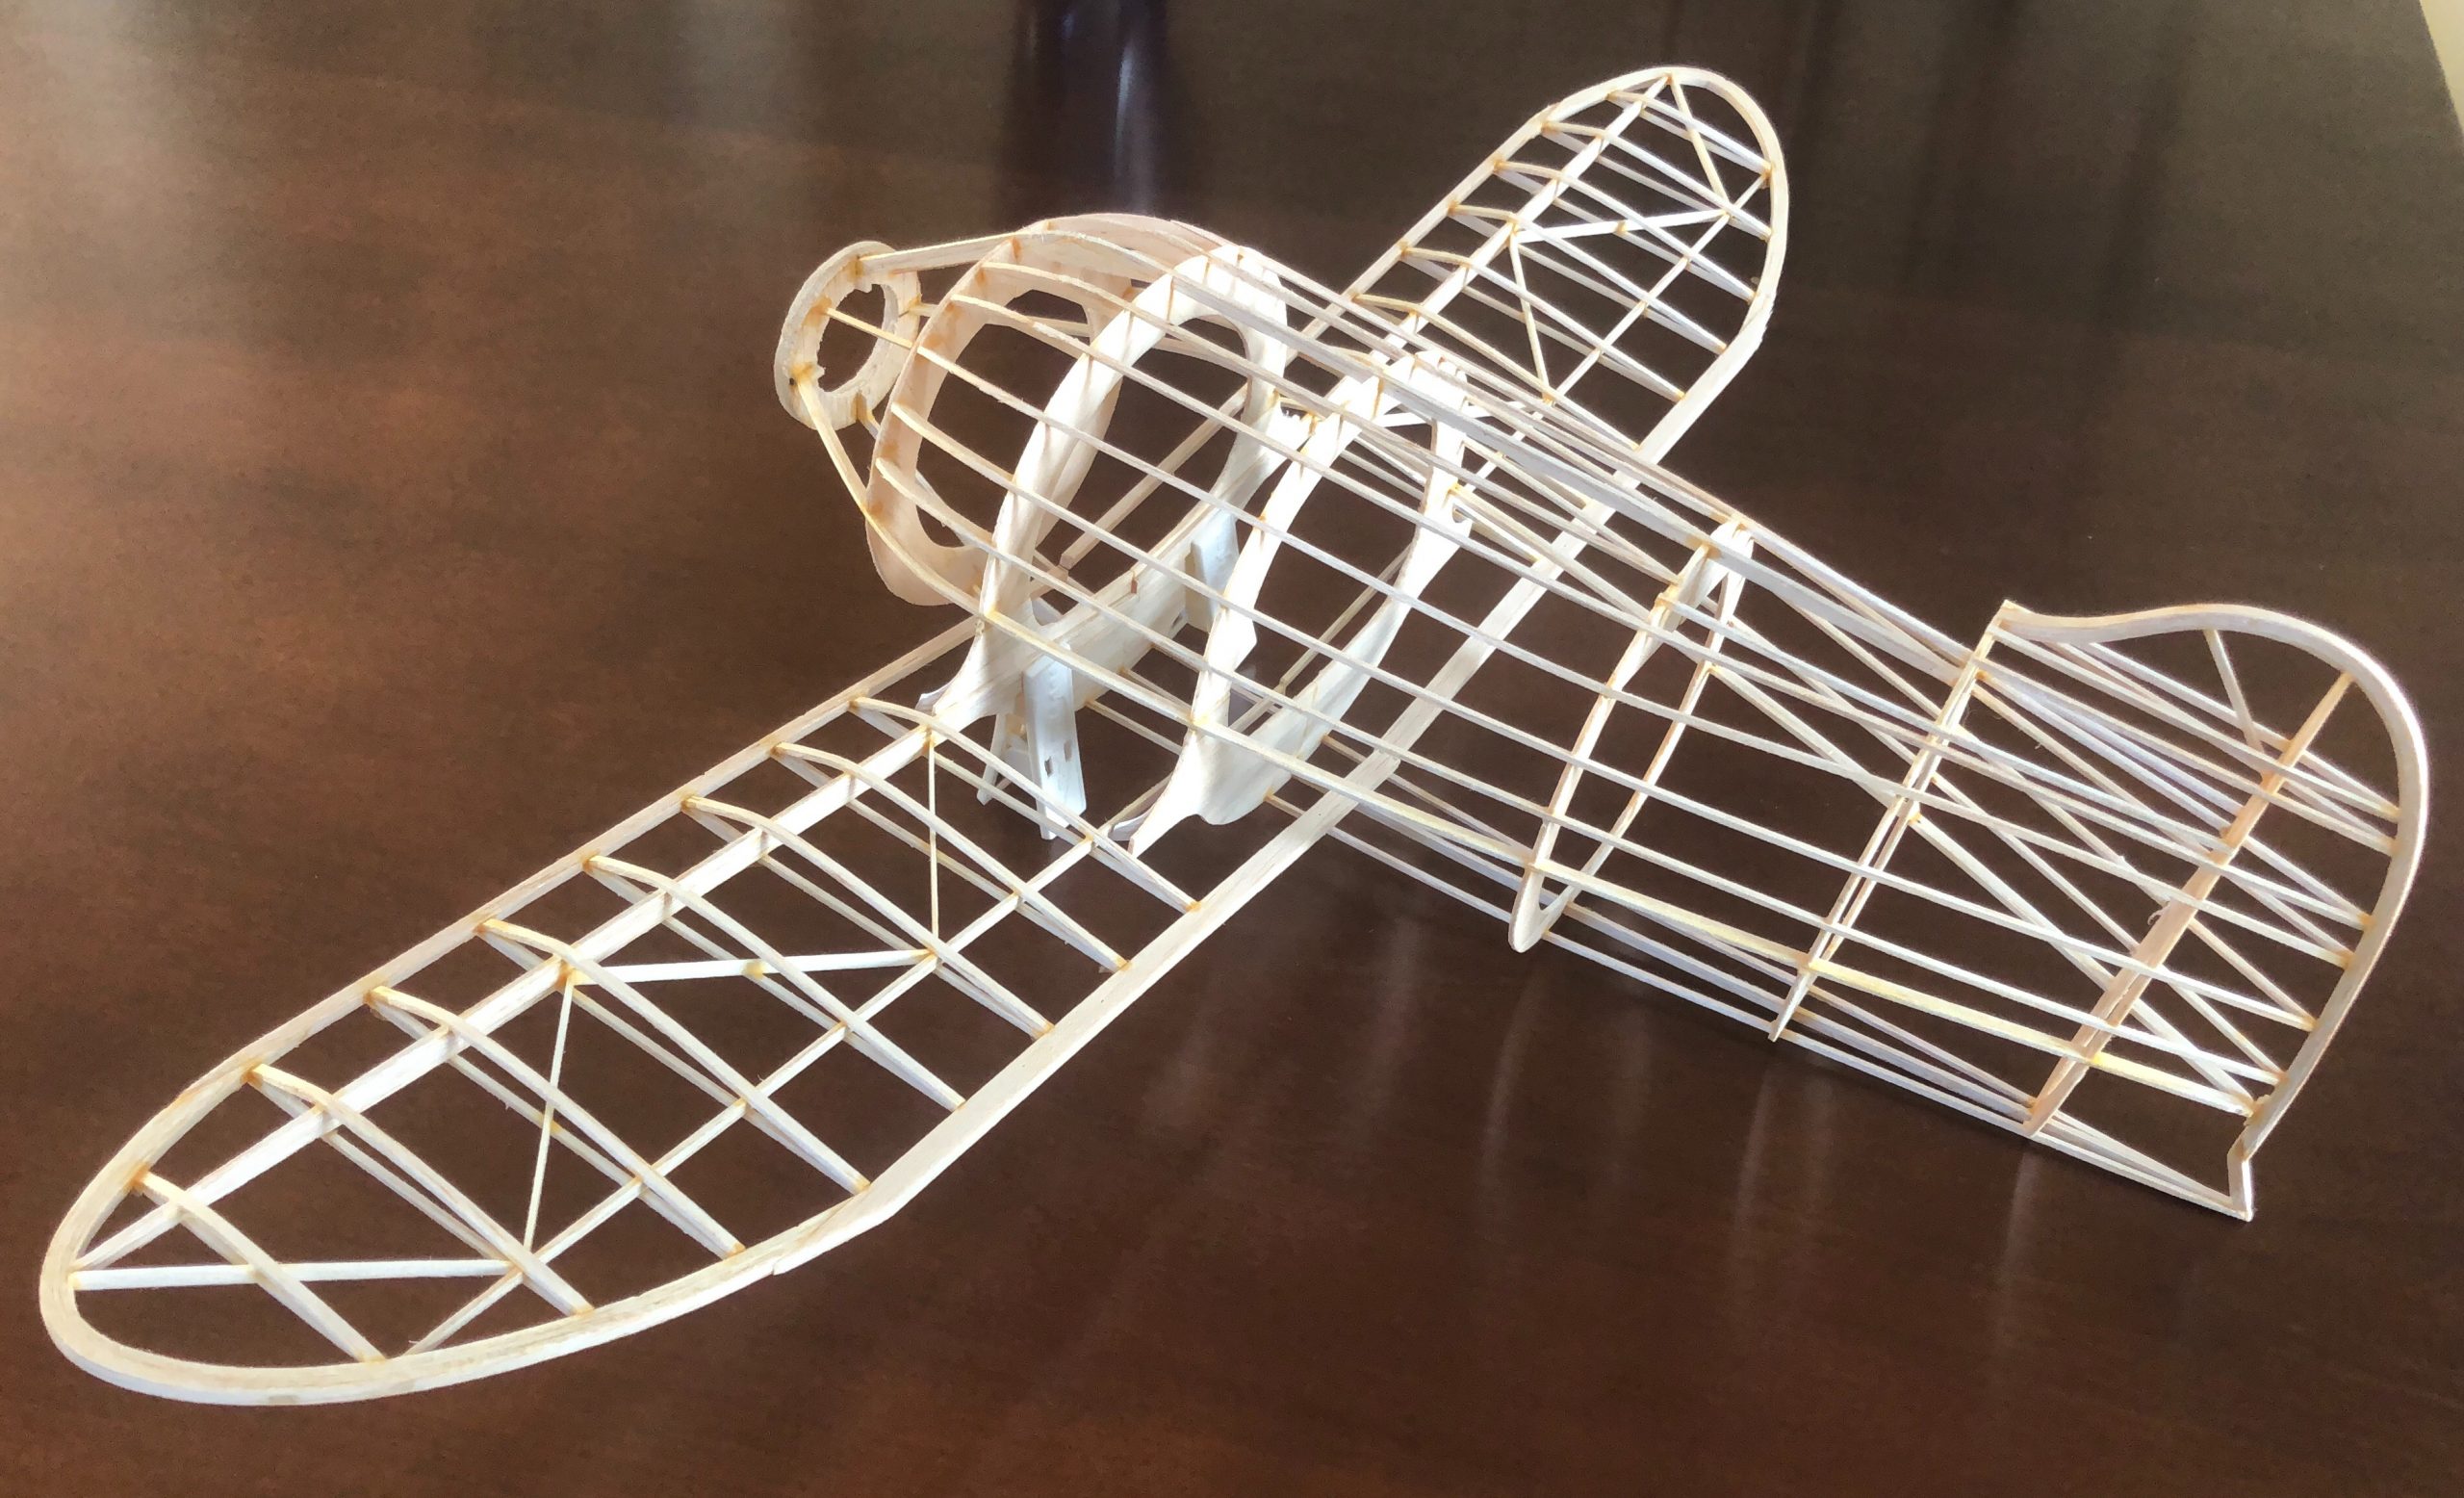
I started cutting wood in June of 2019, beginning with the fuselage. I shortly had the fuselage partially framed and the wings together to the point I could dry fit them to the fuselage.
Andrew’s outline of the wing planform was very accurate, so I used that outline, but built it using the Dave Rees construction method. The Rees wing uses a traditional LE and TE from stripwood, but with a front and back spar cut from sheet. Ribs are made from 1/16 square on the bottom, and sliced ribs on the top. I decided to make the wing a one-piece structure which is integrated into the fuselage structure. This was a change from the tongue and box “knock-off” wing panels used by Andrew. So within a week of starting I had a structure that started to look like a Gee Bee.
I changed the nose of the fuselage where it locates the noseblock and prop by necking down the fuselage shape directly to a ring to support the noseblock.
This allowed me to make a lighter cowl, since it was not supporting any of the rubber loads. The cowl also could then be made with a slightly flexible mounting and also removable for repairs and access inside the fuselage.
The build went on hold as I prepared for and competed at the FAC Non-Nats at Geneseo in Mid-July of 2019. While at this contest, Tom II and I plus several others were sitting in the dormitory common area one evening scouting through a pile of FF plans. An early Megow plan of the R-1 came up and we gave it a careful look. I had shown Tom several photos of what I was doing with my R-1 based on the editing of Andrew Hewett’s plan. Tom II told me the story that the R-1 could indeed be a good flyer, and told me that a man in CT had made one and had flown competitively with it. We both agreed that keeping it light would be the key.
I had assumed all along that this FF ship would need a somewhat speedy “committed” glide in order to fly well. Consequently I created the landing gear structure with a “knock-off” feature at a convenient place near the root of the wing.. The tongues I used are retained by monofilament fishing line pins which allow some lateral flex and yet don’t impede the knock off of the wheel spat assembly to the rear.
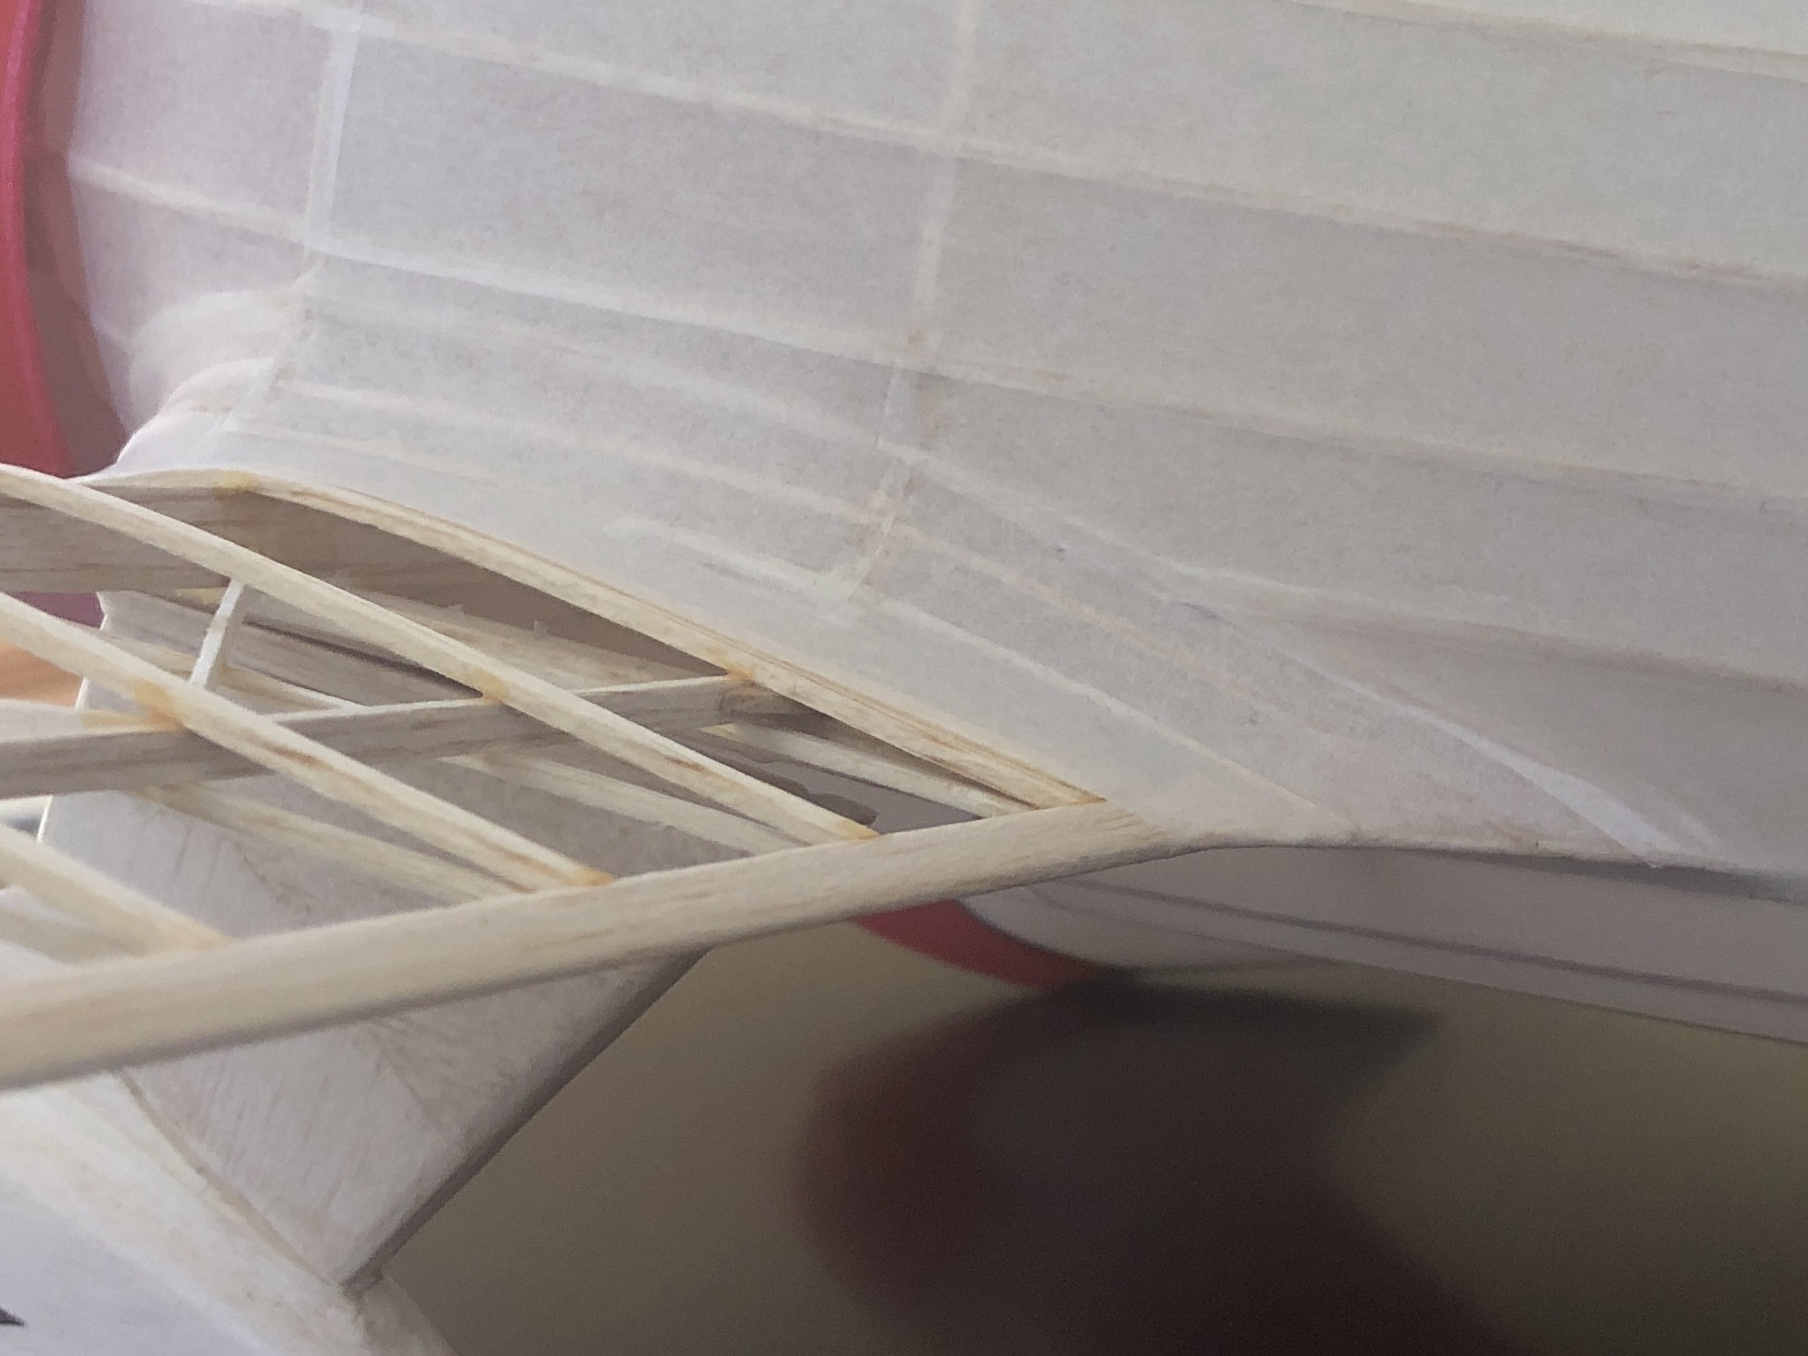
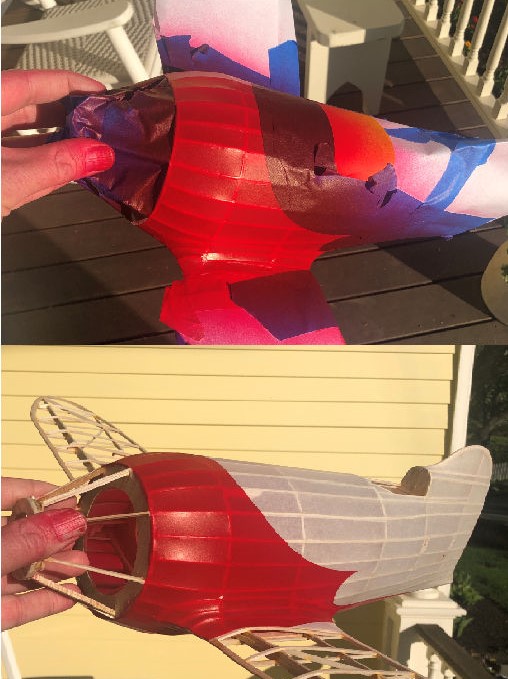
I chose to use Easybuilt Models Mt. Fuji white, which has a more saturated white color compared to the now disappearing supply of esaki tissue. The fuselage was covered wet, starting with the fillets. I prefer to create fillets from sheet balsa pieces, which are then sanded and shaped to suit. When built this way, the fillets tend to tie the wing and fuselage into one larger shape and simply looks a bit more consistent and convincing to me. Those fillets were covered with tissue as a first step in covering.
Once covered the fuselage was then doped with two coats of thinned nitrate. The clear nitrate seals the tissue and provides a nice base for spraying the red color. Two thinned coats nearly eliminates the bleeding of the red under the tape. Design Master Floral Spray (DMFS) Carnation Red was used for the brilliant red used on the Gee Bee. I masked off the white of the fuselage and the uncovered wing structure and then shot the red on a nice day with low relative humidity. The DMFS Carnation red acts more like a dye than paint. it doesn’t take much to cover and i can still maintain the translucent look that is appealing to my eye. Using a fresh roll of 3M blue tape has given me the best results.
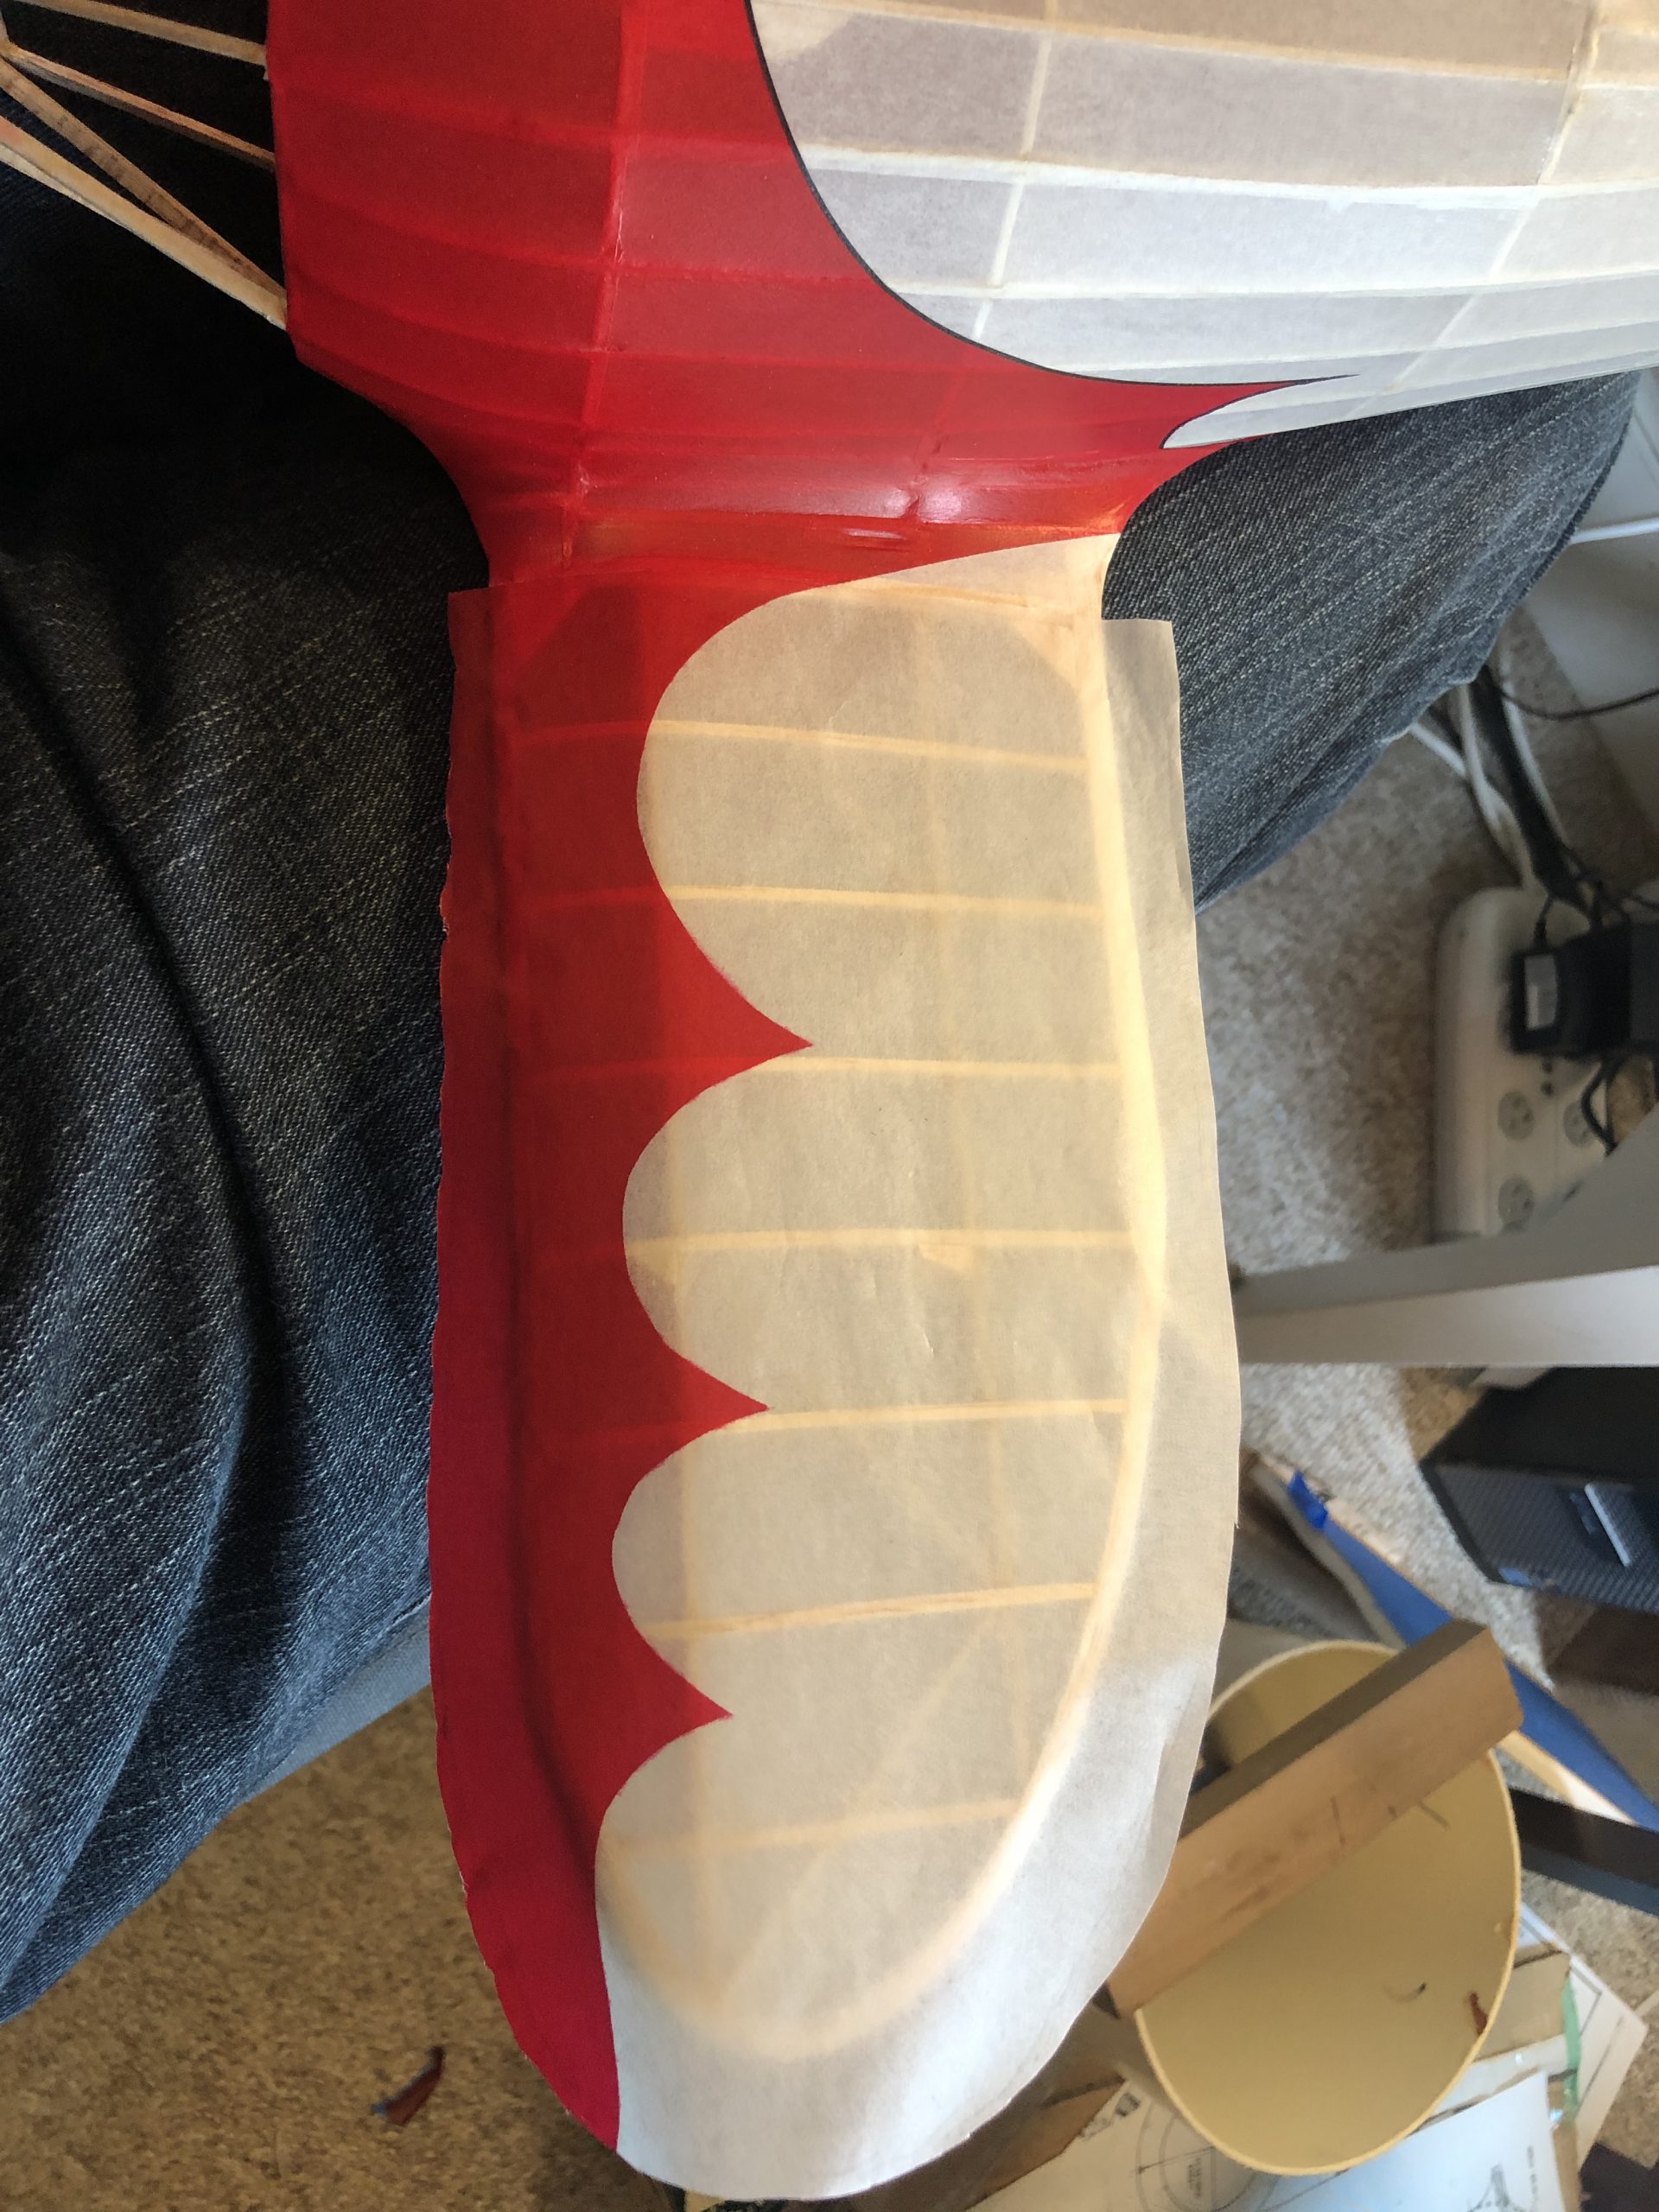
Wing skins were created from a large sheet of white tissue applied to an artist’s frame, steam shrunk, doped, masked with the scallop patterns and sprayed with the same DMFS Red in the same manner as the fuselage. I was able to make the four wing skins from one sheet. A second smaller sheet was made and sprayed entirely red at the same time. That smaller sheet provided tissue from which I could cut out the wing registration, race numbers and the dice, and have material for repairs.
Careful indexing of the color separation line of the wing skins at the fuselage was reasonably straightforward to do. The wing skins were applied dry, then steam shrunk once in place. I added about 1/16 washout in each wingtip while steaming the tissue.
After adding a few details, I began glide testing to establish CG, decalage and other basic settings. I was surprised at its relative buoyancy when test gliding without a motor. I believe that the fuselage shape may contribute something to the effective wing area that I did not expect.
My finished empty weight is at 65 grams, but with rigging and a few panel lines yet to add. Early powered flights with 200 turns are looking favorable, but with dutch roll appearing in the glide portion. I’ve been flying it in very tall grass, but the meadows have just been mowed, so I will wait a few more weeks for the grass to grow taller before flying it again.
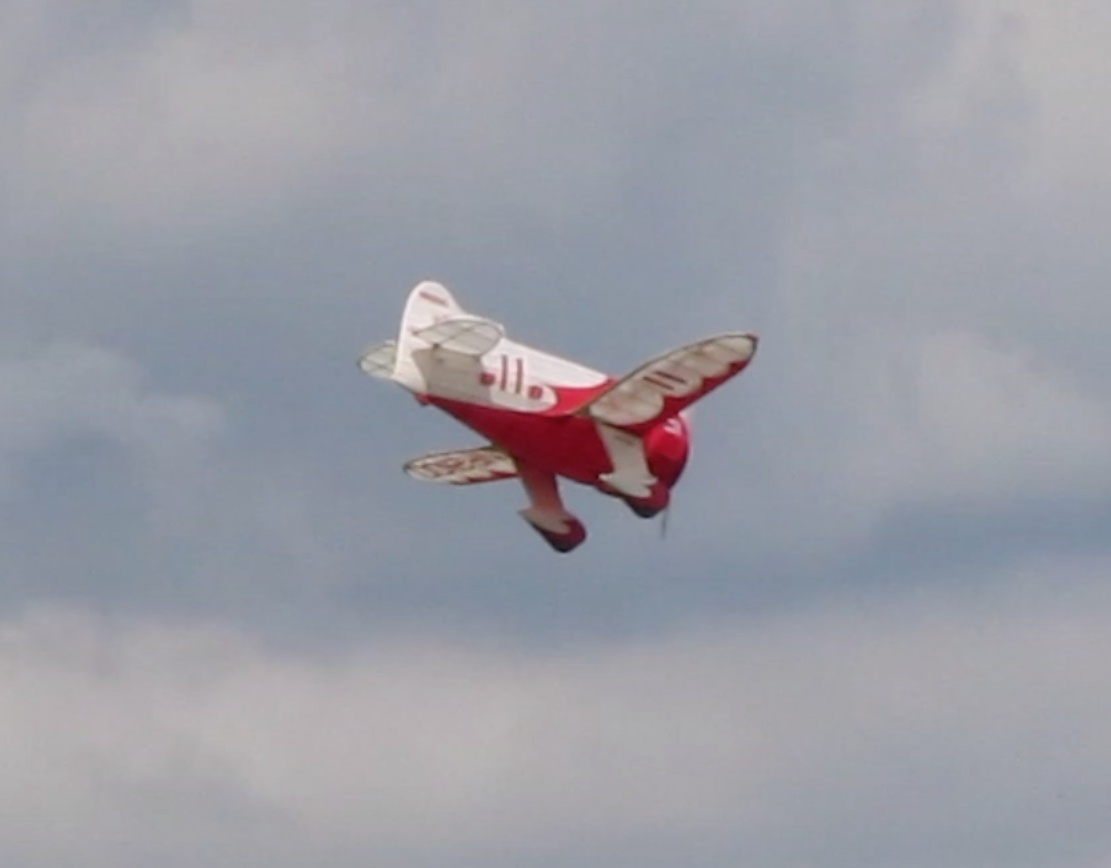
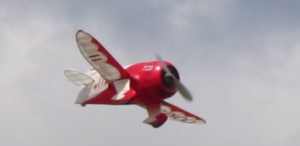
Test Flight Video:
Two Model Airplanes: The Gee Bee & Kalinen at Wawa ; youtube
A photo essay with commentary on the Gee Bee R-1 build, plus a test flight video. This Gee Bee flies!
By Doug Beardsworth

Click to Enlarge Images