I recall the anticipation of the first test glides of my Gee Bee Q.E.D. model more than 20yrs ago in the back yard of our first house. In the time between then and now, this model – I know, it’s not really a Gee Bee (see post) – has been flown hard in fair weather and poor, placing in its share of contests and even winning a few. And I must admit to a crash or two along the way.
The last crash was flying in an FAC Thompson Trophy mass launch event at the Rocky Hill sod farm in CT. Unfortunately the sod had recently been harvested and the summer sun had baked the bald surface to hardpack. Launching into the breeze, the Q.E.D. hesitated a bit and lost airspeed. Many times before, the knock-off landing gear had prevented damage, but not this time. She came in on a wingtip and crunched spars, ribs, the whole bit.
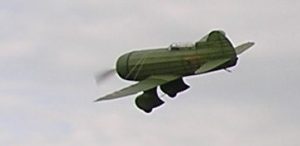
Fast-forward to last month. In preparing the Q.E.D. plan for publication and examining the model for reference, I decided to re-build the wing and get her back into the air. Following is a short photo essay with brief commentary on the Q.E.D. wing rebuild which took place over several days. A short video of a test flight was captured and the link follows this post.
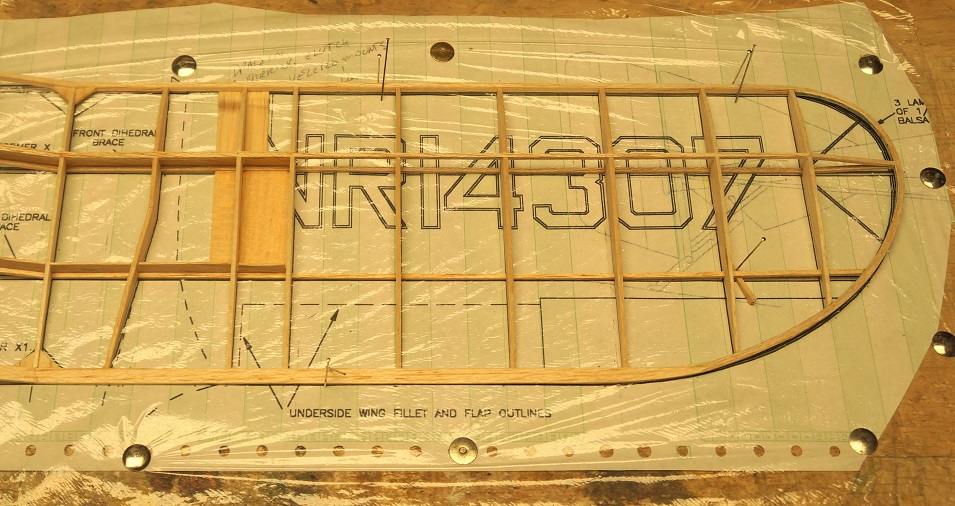
Pic 1 – The Initial Lay-Down. Wing ribs are cut out using the templates on the plan, followed by lay-down of the Trailing Edge and bottom Wing Spars. Inboard ribs W1-W3 are fitted to the spars and trimmed at the aft end to join tightly against the T.E., and then cemented in place. Next, the Leading Edge and top spar are cemented in place – except at the center rib, which is Cyanoacrylate-glued (CYA’d) together later when the dihedral is added.
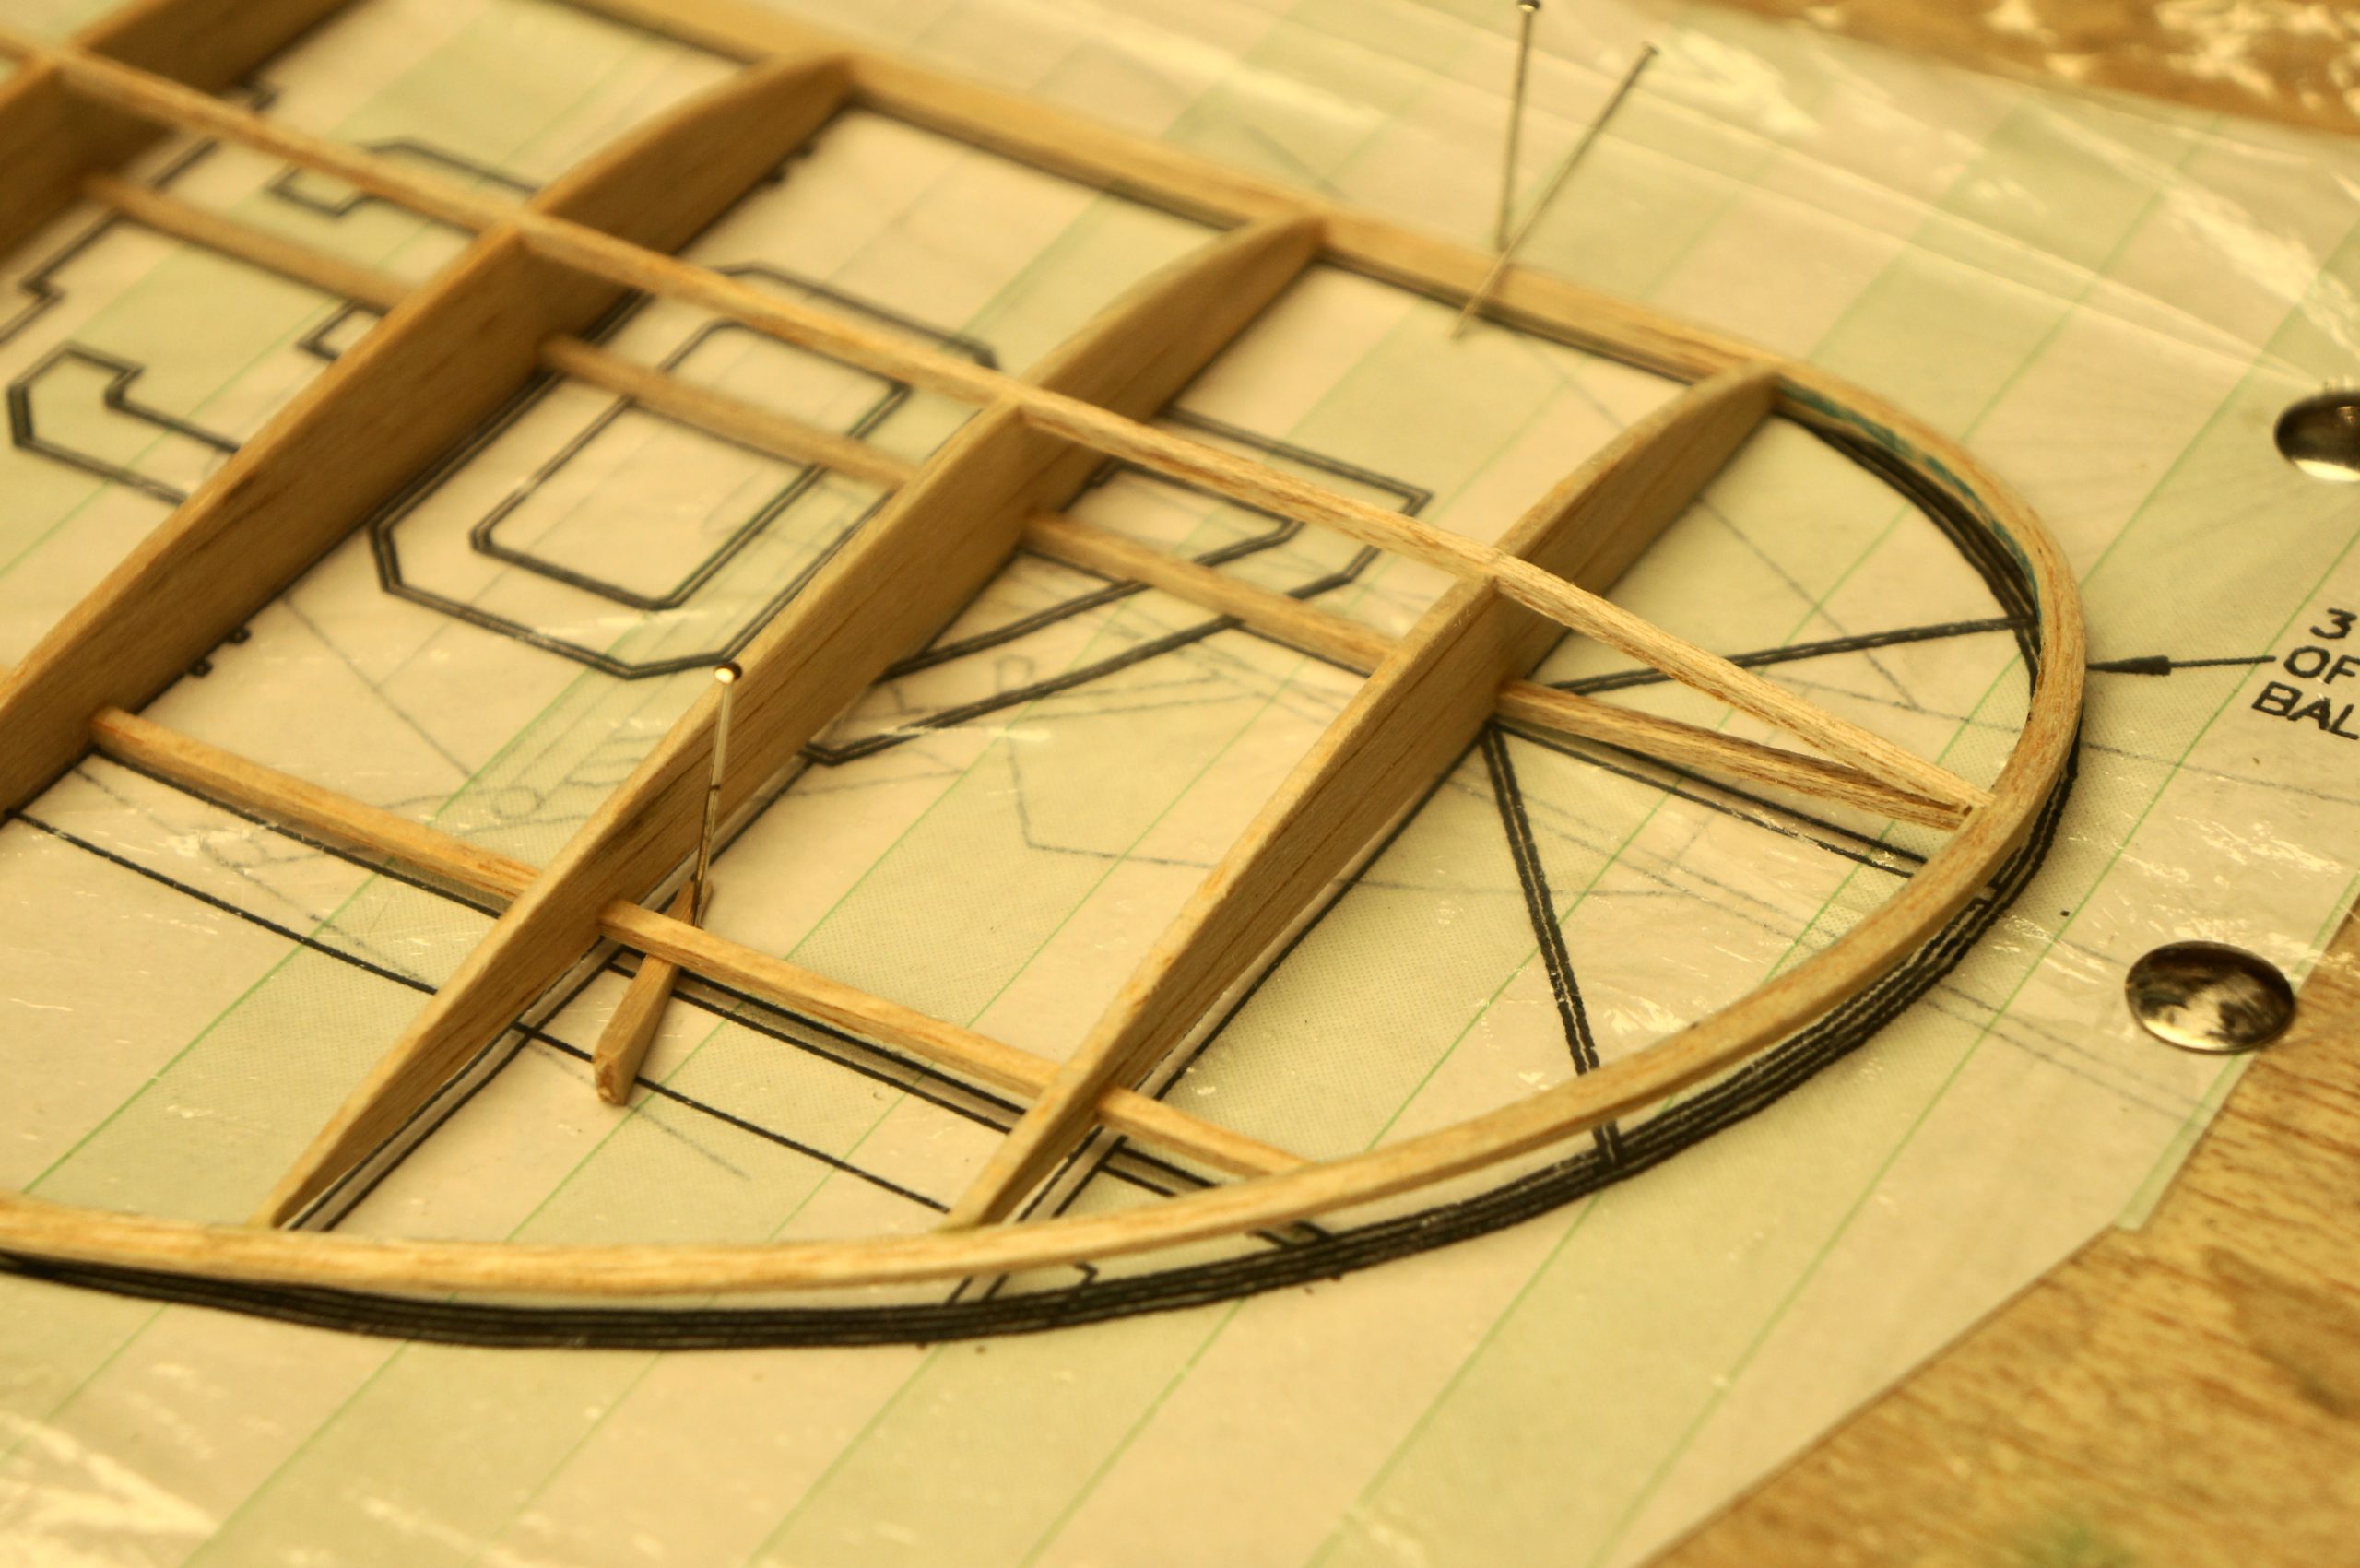
Pic 2 – Install wingtips and build in washout. Laminate the balsa wingtips with thinned aliphatic glue (Titebond). Trim the wing tips to join tightly with the L.E., T.E. and lower wing spars. Note: don’t trim the spars to exact length during the Initial Lay-Down – trim them to fit snugly as the wing tips are fitted to the L.E. and T.E. The wingtip should be raised 5/32in off the building board at the front wing spars, which are “cracked” at rib W5 to angle up or down to join with the wingtip. Also note that the lower rear spar is shimmed up off the building board ~ 1/16in such that the rear spar rises to join the wingtip. The rear spar slot for ribs W4 and W5 is deepened to allow the aft end of the rib to join with the wingtip. This approach provides built-in washout at the wingtips which should be gently enhanced when dihedral is added and the tissue wing covering is shrunk. Washout is important to flight stability with this model.
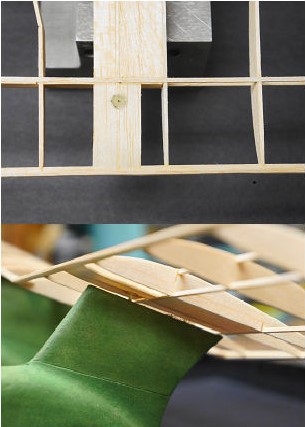
Pic 3 – Install the Landing Gear Mounts. This is an important step as any time spent here will be saved many times over in repairs later. Plus the knock-off L.G. is actually easier to make and much lighter than any fixed music wire gear could be. Install the L.G. mount balsa sheet fill areas before you block up the wing panels and CYA the dihedral in place at the root rib L.E., spar and T.E. joints. Remember to block up the T.E. slightly more than the L.E. to add in a bit more washout. The forward and rear Dihedral Braces are cemented in place after the wing is lifted from the building board. Now, carefully locate and countersink holes in the underside of rib W1 to receive the earring clutch main L.G. mounts. The stiff nylon pins embedded into the top edge of the L.G. legs will plug into these clutches and the rear of the leg will be held in place by a small Velcro patch CYA’d to the underside of rib W1 and the sheet fill after the wing is covered with tissue.
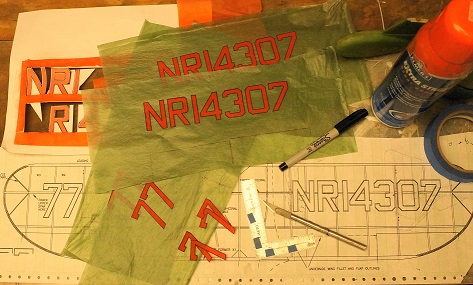
Pic 4 – Making the Tissue Markings. My original Q.E.D. carried the incorrect colors (shame, shame!) for the registration and racing numbers and this was fixed as part of this re-build. The de Lackner/Galletti 3v indicates Orange with Black pinstripe for the Registration and Racing markings. To make the Orange tissue markings pop better on the green tissue base, I printed the markings “Orange on Orange” with a black pinstripe using my Epson durabrite printer. This worked nicely and to deepen the contrast,I chalked the back side of the printed tissue with Orange Pan Pastel chalk and went over the printed black pinstripe with a Sharpie and straightedge. The letters and numbers were cut out using a new Xacto #11 blade and attached to the base green tissue “skins” with a spray adhesive using the wing plan underneath as a location/alignment guide. The vertical tail registration was simply printed on a small patch of green tissue and fixed in place with spray adhesive. It all seemed to work well.
I also rebuilt the horizontal stabilizer on the Q.E.D. which was a bit droopy with age. So now, the model should be good for another 20 years. We’ll see!
Related Docs:
Gee Bee Q.E.D. rebuild test flight video; youtube
GMD R6H Q.E.D. -24in Wingspan, Flying Scale Model Plan, Tom Nallen2
Granville, Miller & deLackner Q.E.D. Art Card; Tom Nallen
“a short photo essay with brief commentary on the Q.E.D. wing rebuild… A short video of a test flight was also captured”

Click to Enlarge Images